3 Easter Lessons for Sunday School (with crafts and activities)

Need creative Easter lessons for Sunday School? We have 3 free options, with crafts and activities included.
Easter is my favorite holiday to celebrate as a Christian. It’s also the one I want to thoroughly emphasize and make sure my kids understand it well.
Sometimes, I find myself searching for something different from the “usually scheduled programming”- aka, Sunday School curriculum.
This Easter, I wanted to have some fun activities and crafts prepared ahead of time.
I don’t know about you, but I often have extra visitors in class around the holidays, which makes Easter even more fun.
Our class is typically very small, but when we have extra kids it’s easier to do bigger group activities.
This post likely contains affiliate links. Please see our disclosure for more info.
Easter Lessons for Sunday School: 3 great options
Fun fact: I started teaching Sunday School when I was 20 years old, and have been teaching ever since!
I have taught every age group minus preschool at this point.
So, I understand how helpful it is to have some ready-made, low-prep activities for special days such as Easter.
Below I’m going to link everything you need for 3 different Easter lessons for Sunday School.
You can print each lesson and related craft instruction sheet right from this page, for free!
These are divided by age into Elementary, Middle School, and High school.
You can easily mix and match lessons or activities as needed.
I sometimes have a wide range of ages in my class, so I like to have lots of options!
Note: All Scripture printed in these materials is taken from the ESV Bible, via Biblegateway.com.
Be sure to also read and save for later: 3 Thanksgiving Bible Lessons with Crafts (FREE).
Easter Lesson #1: My Easter Story (Elementary Ages)
Students will learn the timeline and meaning of the Easter account from the Triumphal Entry to the Ascension of Jesus.
Materials
- Song on Youtube, "Christ Arose"
- Book, "The Donkey Who Carried a King" (Optional)
Tools
- Tablet or laptop (for Youtube song)
Instructions
- Open session in prayer.
- Say: Tell me about some things you know about Easter! Allow kids time to respond and ask follow up questions.
- Say: We all have fun at Easter celebrating the season with our families in different ways. But the best part of Easter that we’re here to celebrate today, is the Resurrection of Jesus! Jesus, God’s only son, gave up his life on the cross in order to forgive our sins forever. But he didn’t stay in the grave - he rose from the dead after 3 days! This was God’s plan for Jesus from the beginning, but it wasn’t easy for him. He suffered greatly and his followers were very upset when he died. Even though Jesus had told them what was going to happen, they didn’t quite understand everything until he appeared to them after he had died. In Luke chapter 24, we learn that most of the disciples didn’t believe the women at first, when they told them Jesus had risen.
- Ask: Have you ever been told something so amazing, that you just couldn’t believe it at first? Allow student responses.
- Say: Thankfully, the news about the Resurrection was true! And because it’s true, we can accept the free gift of Salvation that Jesus paid for on the cross, and live with him in Heaven forever, just as He promised the disciples. And next, we’re going to put together our own “Easter book” so we can remember this incredible, true story.
- See “My Easter Book” craft below.
- Play “Christ Arose” from this Youtube link(you can watch together or just listen to the music), while assembling the books.
- Optional: Read the book: The Donkey Who Carried a King by R.C. Sproul.
Recommended Products
As an Amazon Associate and member of other affiliate programs, I earn from qualifying purchases.

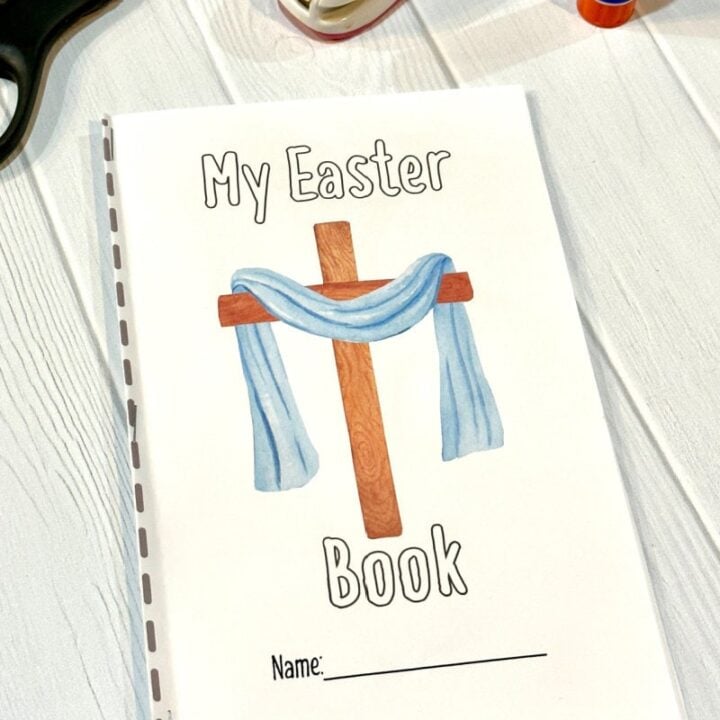
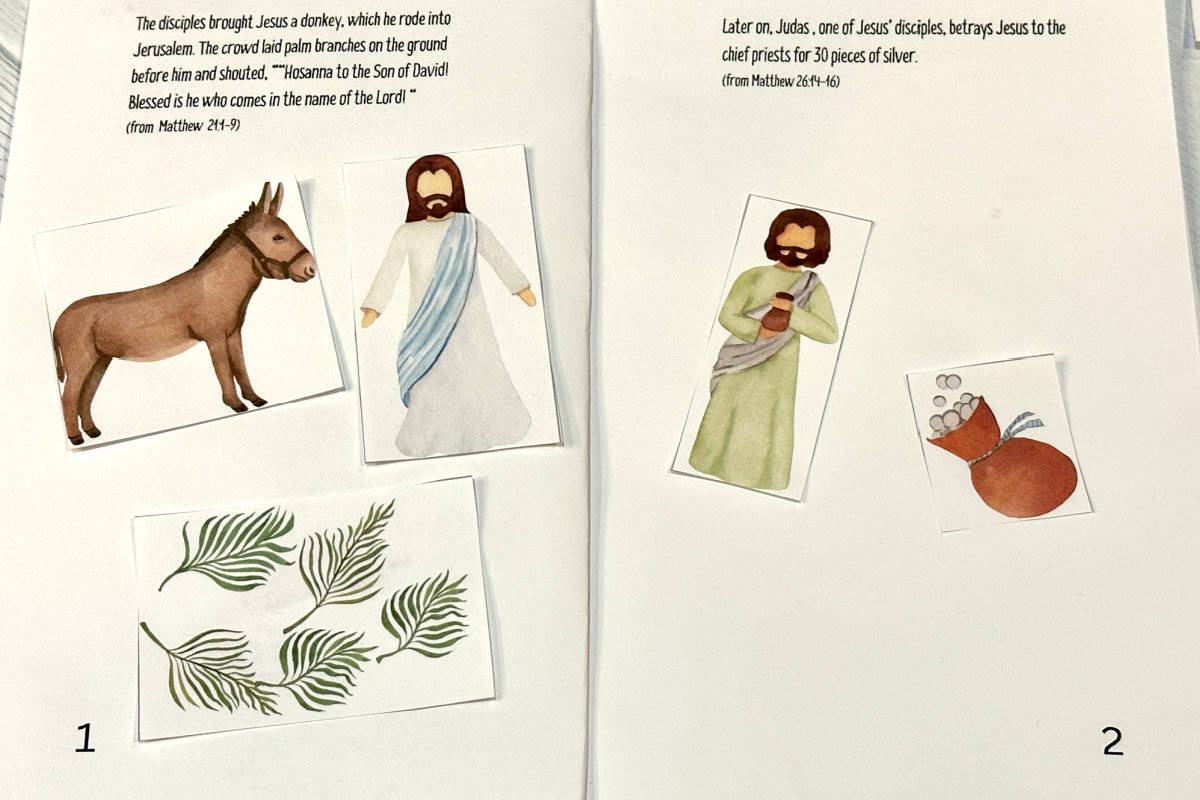
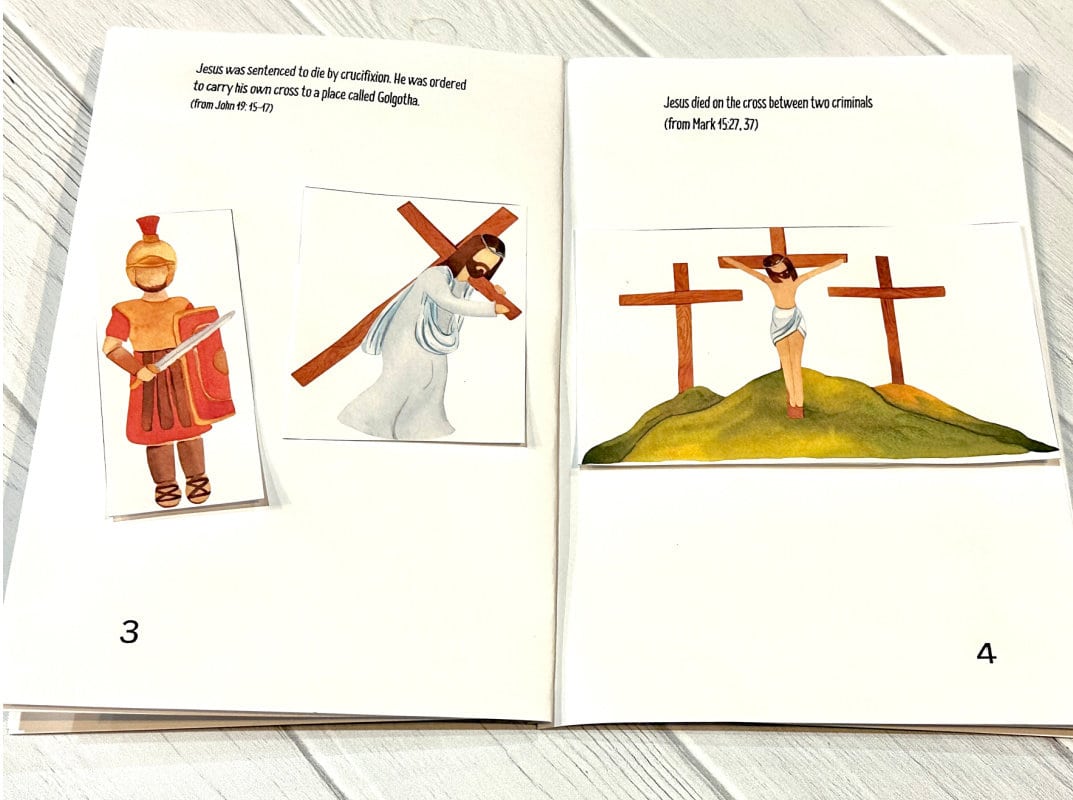
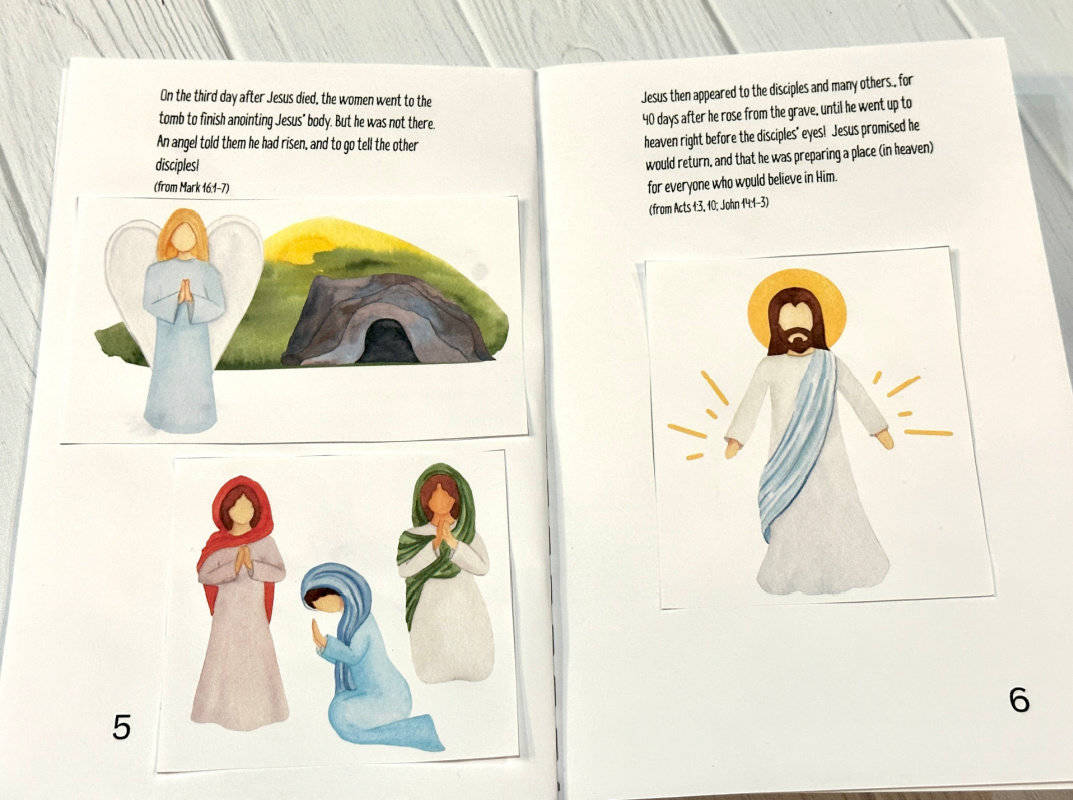
My Easter Story- Printable Craft for Sunday School (Elementary Lesson)
Printable Easter booklet that kids can cut, paste, decorate and assemble on their own.
Materials
- White copy paper
- Scissors
- Glue sticks
- Stapler
- Colored pencils (optional)
Tools
- Color Printer
Instructions
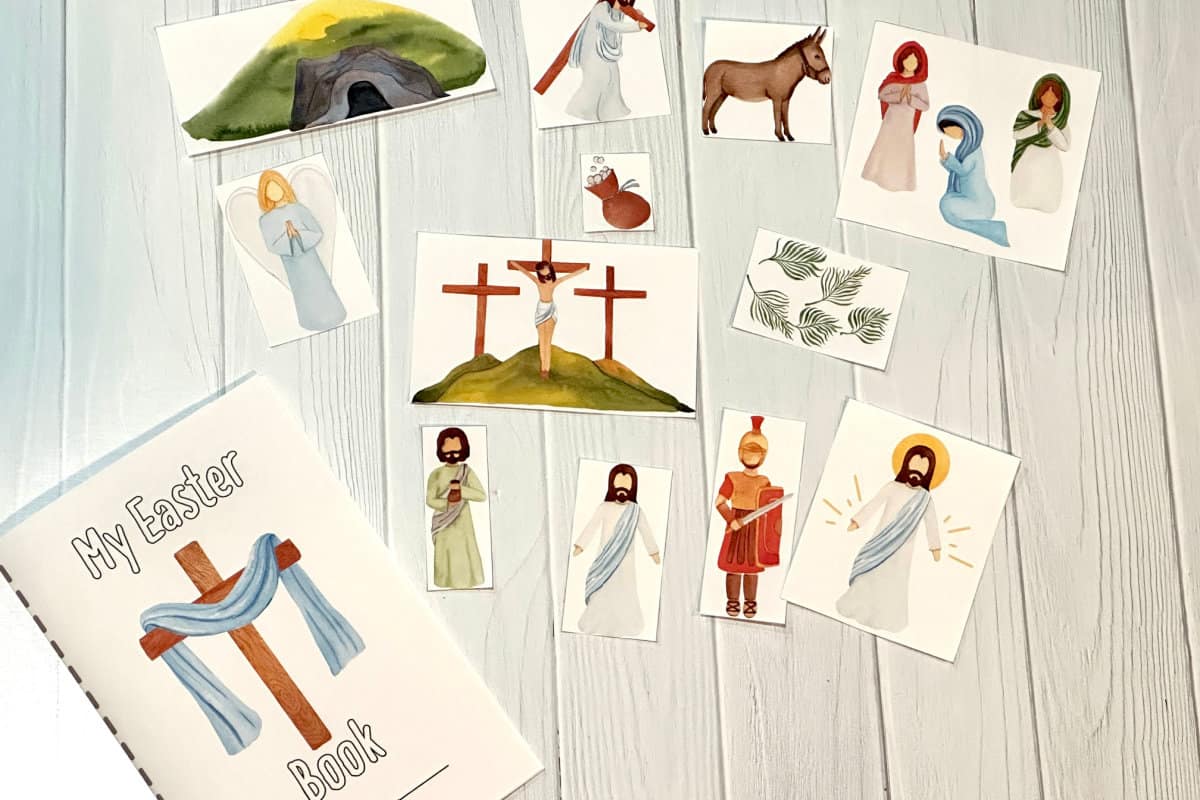
- Print all pages from My Easter Book template.
- Cut out each square on the first two pages containing the watercolor drawings. (This is much easier than cutting around each image, although older kids may prefer that.)
- Fold the cover in half that reads “My Easter Story”.
- Fold pages 1-2, 3-4, 5-6 in half with the words facing in.
- Using a glue stick, glue together the back of page 1 of the story to the back of the front cover. Then glue the back of page 3 to the back of page 2. Then glue the back of page 5 to the back of page 4, and the back of page 6 to the inside of the back cover.
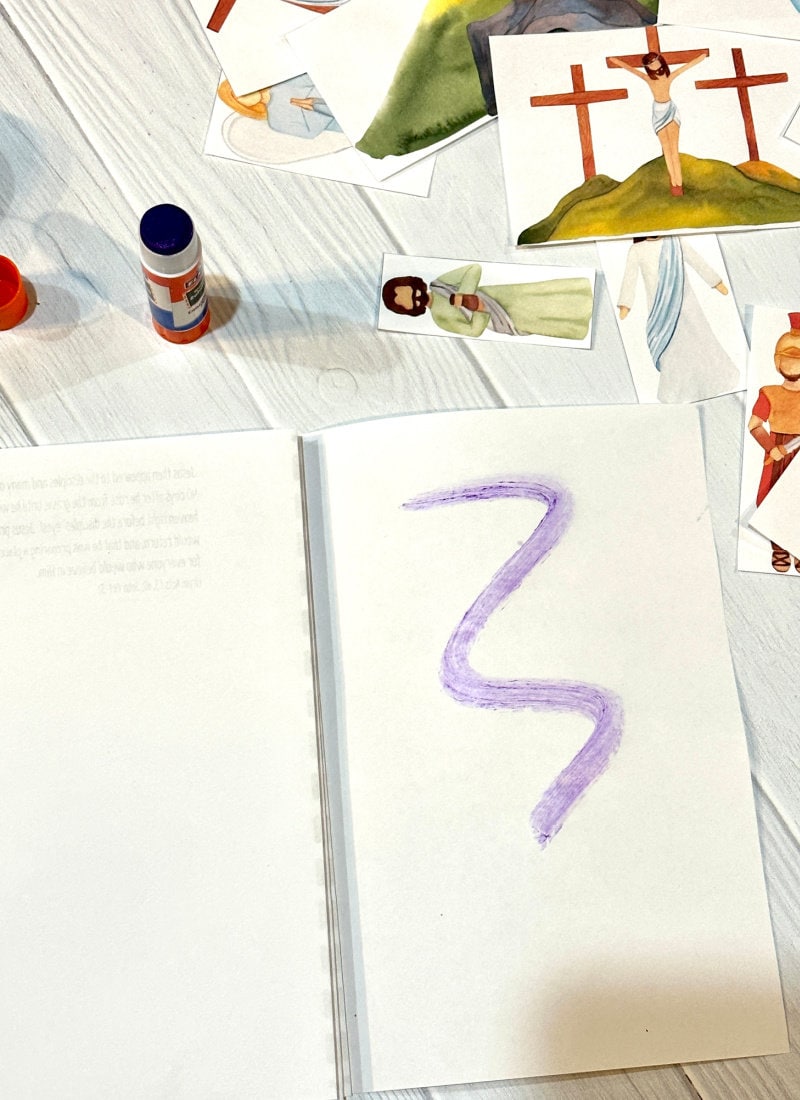
- Staple down the outside spine of the book to hold it together.
- Next, kids can simply paste the images to the pages where they are described in the story.
- It’s ok if they don’t match up perfectly! 😉 Younger kids will need help reading through the pages one at a time.
- Optional: Use a colored pencil to color in “My story” on the cover. Let kids decorate the book with further drawings or designs of their own if they choose to.
Easter Lesson #2: Easter Chain of Events (Middle School)
Students will read the “Easter Chain of Events” Scripture passages (linked below) from the Triumphal entry to the Resurrection. Then they can make a banner to hang on the classroom wall that summarizes the Easter Story. By reading and retelling these events, students can gain a better understanding of the scope and meaning of the Crucifixion and Resurrection.
*Additional Craft Option: “He Is Risen” Bracelets. (Same as the craft for the teens- Craft #3, but using “He is Risen” as the phrase instead.)
*Note: This lesson is probably best stretched over at least two sessions. You could read the passages on the first week and cut out (and color-optional) the banner pieces, then finish the banner on the next week and make the He is Risen bracelets.
Materials
- Printed "Easter Chain of Events-Scripture Passages"
Instructions
- Open session in prayer.
- Say: The Easter story is far more exciting and dramatic than any Hollywood action movie, because it’s a true story recorded in history! Jesus’ identity and mission was foretold long before he was born, by several prophets in the Old Testament over time. In fact, Jesus fulfilled over 300 of these predictions* given in Scripture. Today we’re going to read the “chain of events” that the eyewitnesses Matthew, Mark, Luke and John (four of Jesus’ disciples) described leading up to Jesus’ death and resurrection. Pay close attention, because we’re going to put these events in order when we’re done!
- Print out the “Easter Chain of Events- Selected Scriptures” found here. Cut apart each passage along with the summary statements below it and divide these slips among your groups. If you’re a small class, each group may need to read several passages. Another option is to read the entire thing around the table, reader’s theater style (it will just take a little longer as there are 16 passages.) No need to read the summary statements out loud, yet-just the Scriptures.
- *If time allows afterwards (or after doing the Banner activity), you could go through the linked article on #1 above and give examples of how Jesus fulfilled specific prophecies about himself. First, ask the kids which prophecies they might be familiar with.
- Complete “Easter Chain of Events - Banner” activity below.
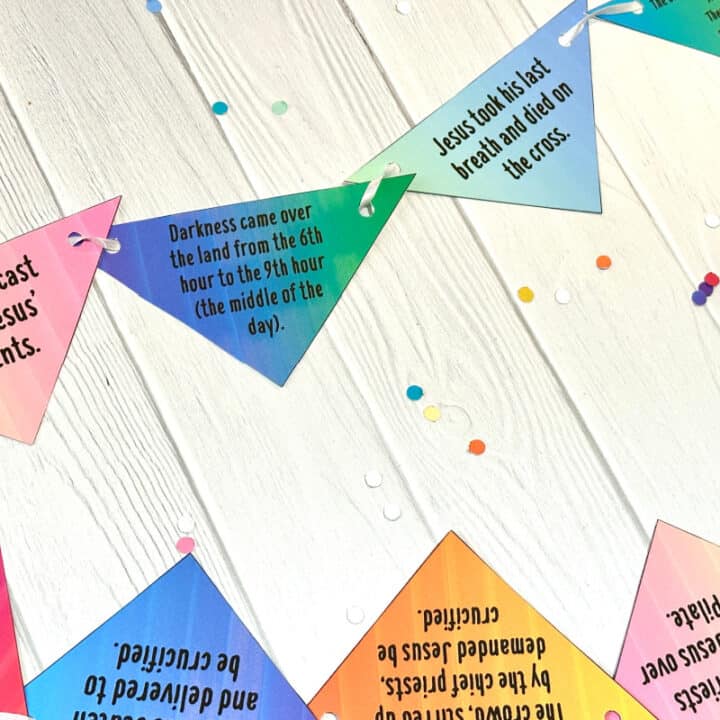
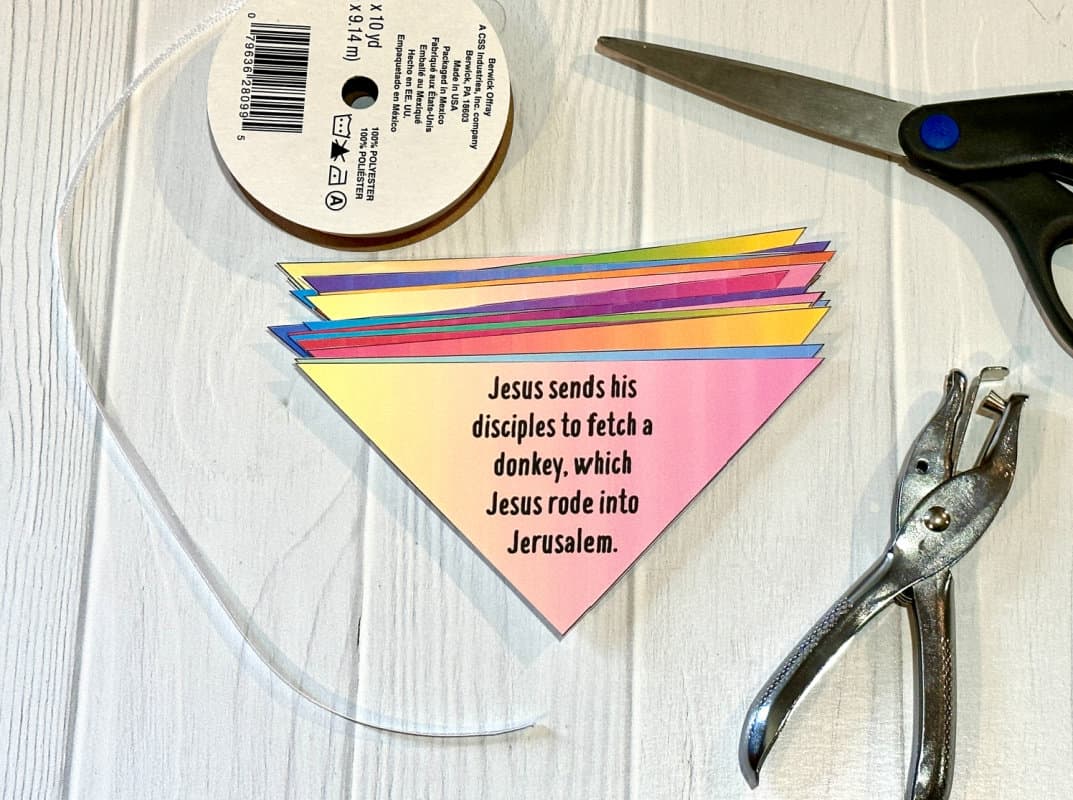
Easter Chain of Events- Printable Banner
Students will cut out each banner piece and assemble them in order of the Scripture passages they read in the above lesson.
Materials
- Color or Black and White Printer
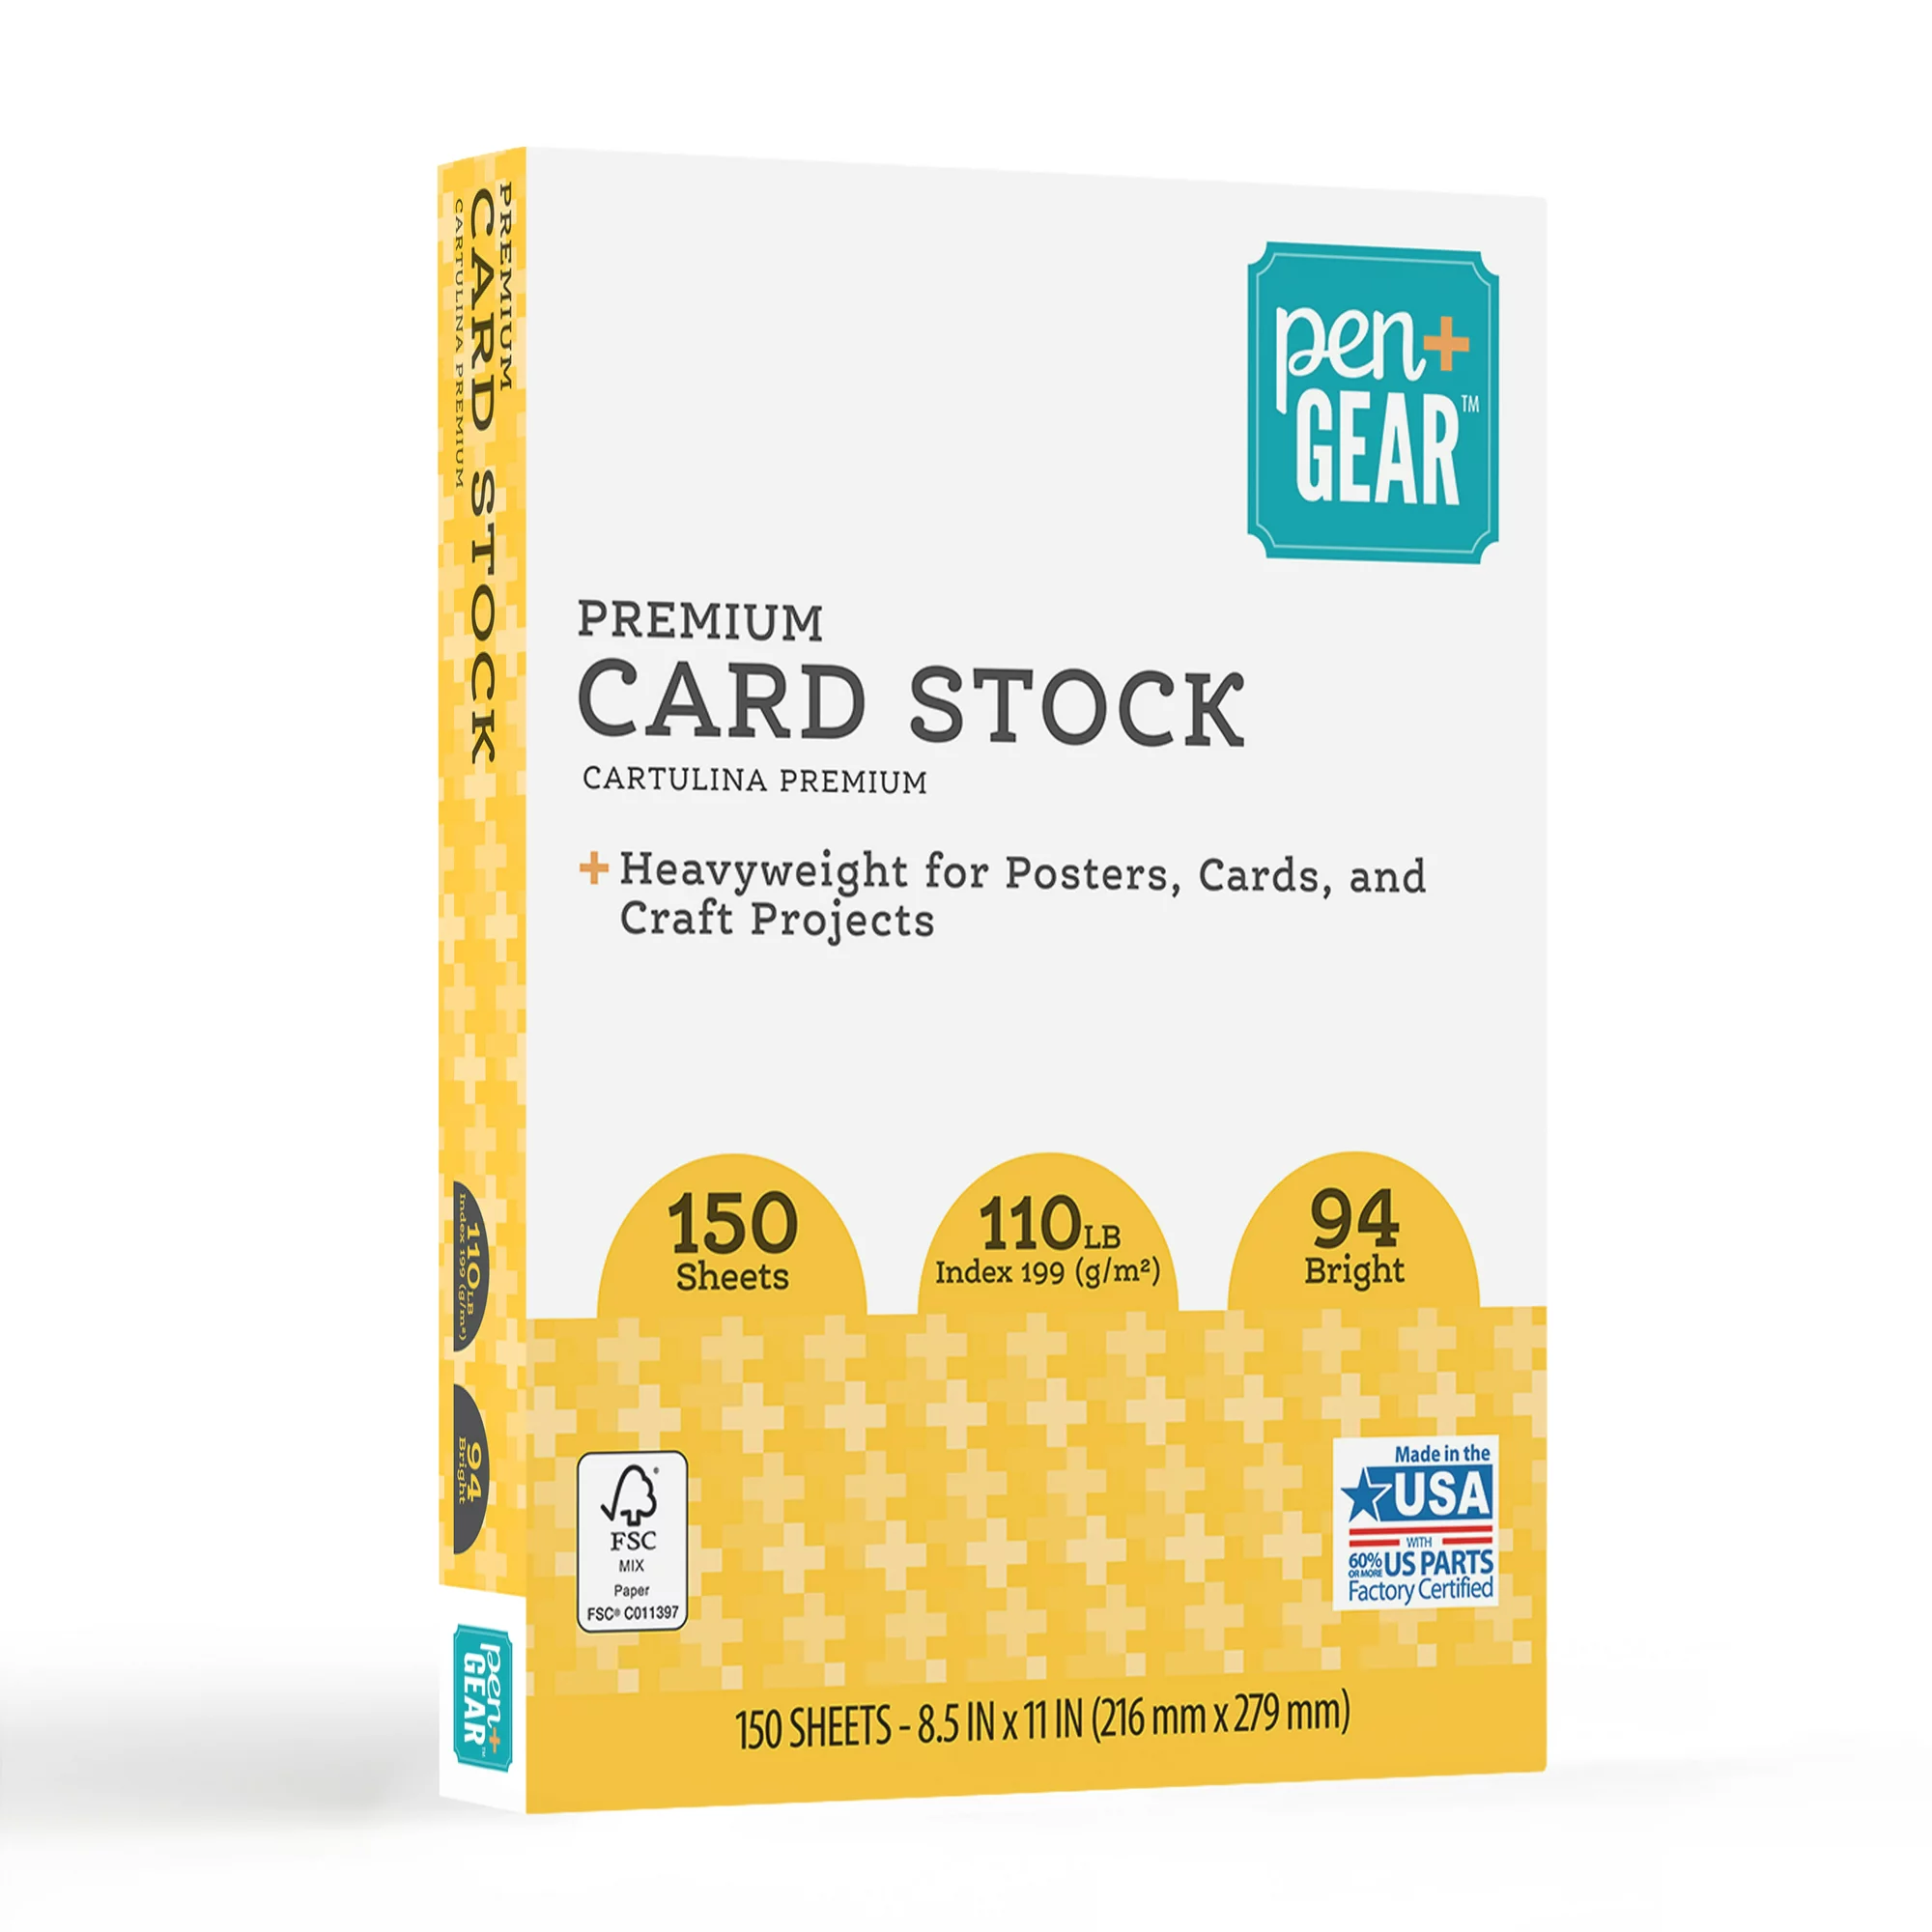
- Cardstock
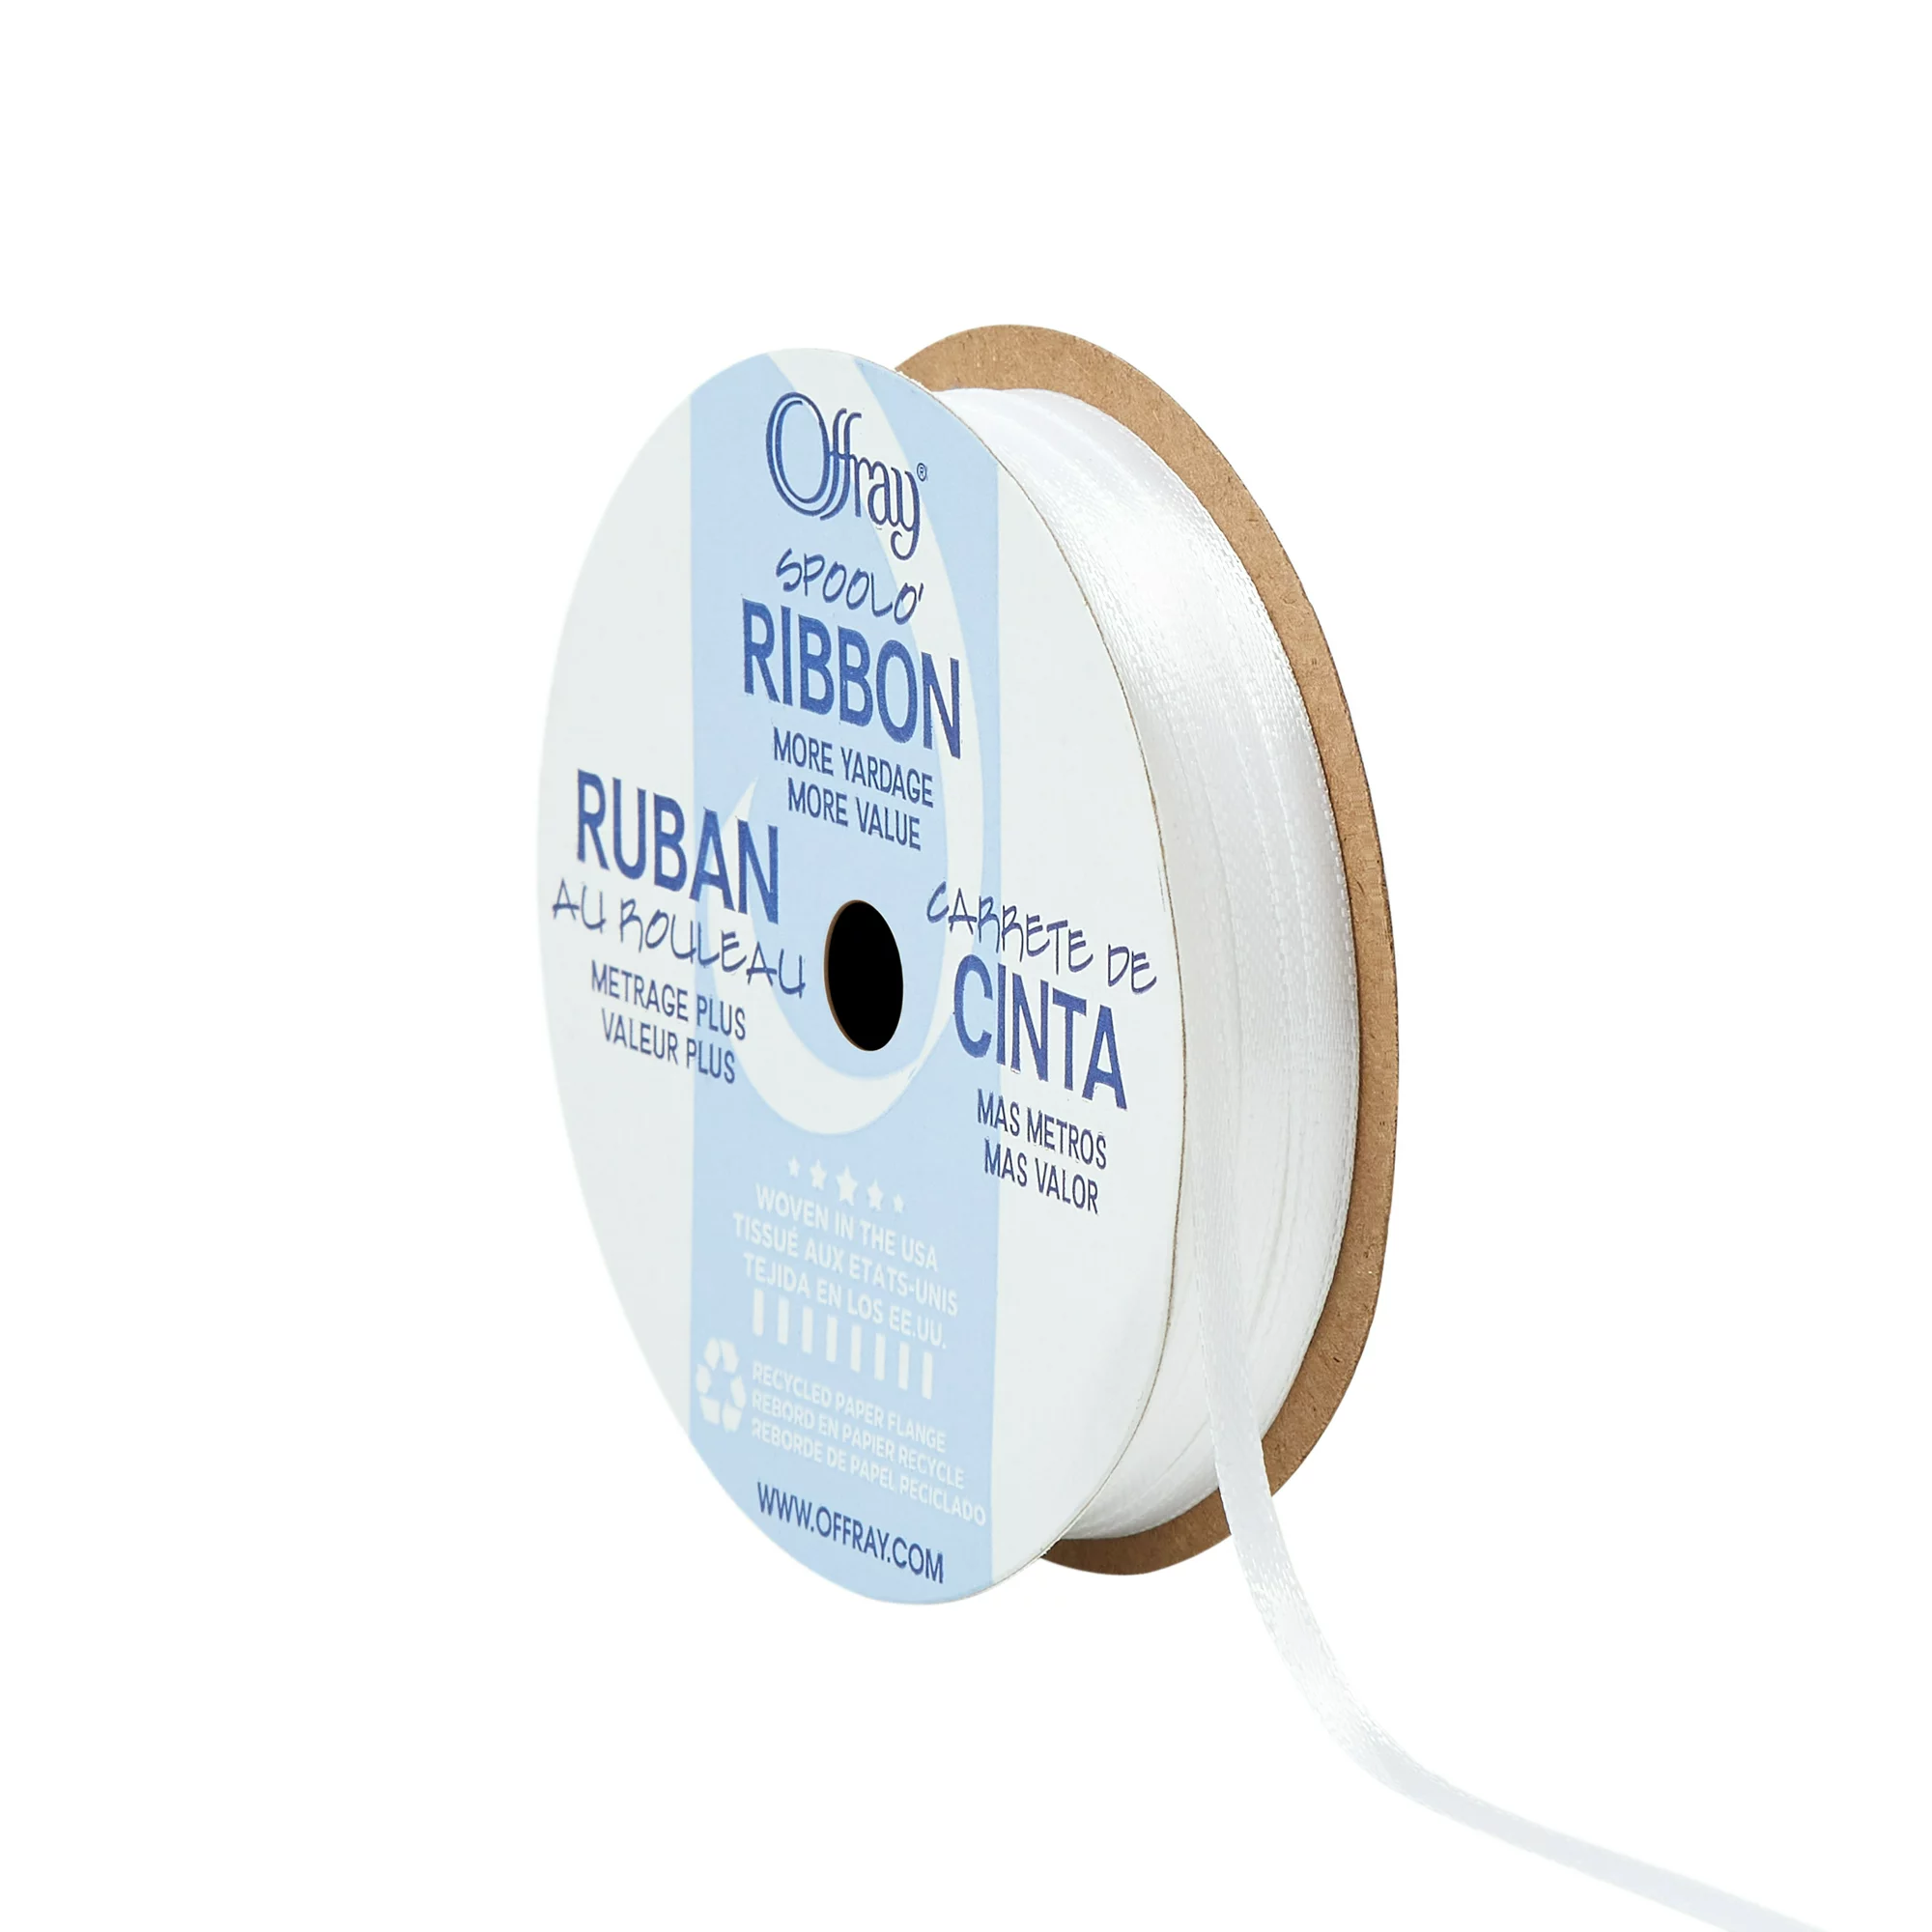
- 12-15 feet of thin craft ribbon
- Single hole punch
- Push pins
- Crayons/Markers (if using the black & white version)
Instructions
- Print the Banner templates here (color version).
- If you’d rather color / decorate your own banner to stretch out this project more, print the black and white version of the Banner templates here.
- There are 23 triangle banner pieces on 8 sheets, and they go in order from left-right-left on each page.
- Divide up the sheets among your student groups according to which Scriptures passages they are assigned to. You’ll need to cut apart some of the sheets to divide them evenly. *You may want to print extra copies in case of scissor or hole punch mishaps.
- Have students cut out each triangle and put them in order of the Scriptures they have in front of them. They can then punch a hole in both top corners of each triangle with a hole punch(see picture below), taking care not to punch too close to the edges.
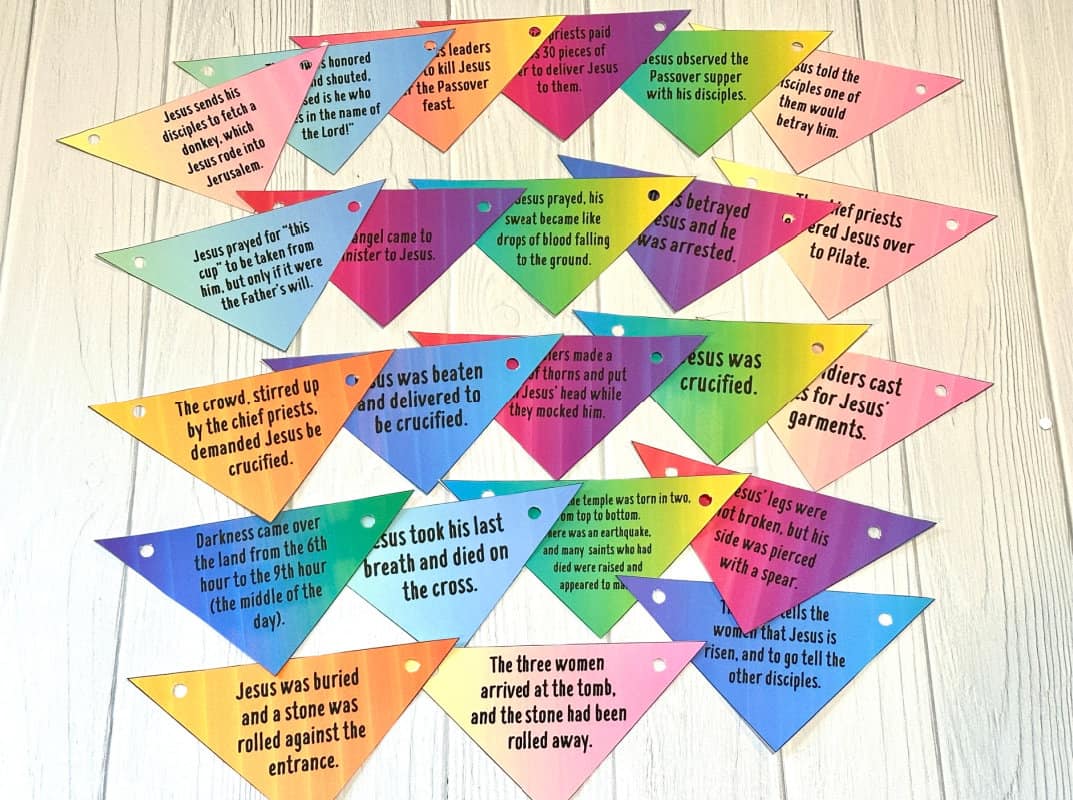
- Next, have the groups combine and line up the complete story across the floor or across a long table. (They will probably need to put ALL of the Scripture slips in number order, first.)
- This makes a nearly 12-foot banner, which is quite long. If you don’t have that much classroom wall space, you can do three 4-foot sections, so 3 total banners that you can place in 3 rows across your wall.
- Cut one 12-foot piece of ribbon if you’re doing one big banner, or cut three 5-foot sections if you’re doing the 3 banners (because you’ll need extra space at the beginning and end if you divide it up into 3.) Leave several inches at the beginning and tape that excess ribbon to the table/floor while making the banner and loop through the holes across each triangle, going in the left-hand hole, behind the triangle and out the right-hand hole (so that the ribbon doesn’t cover up any words).

- Continue stringing each triangle in order of the events.
- Tie a loop in each end once finished, and hang up with push pins across your classroom wall.

- Lastly, go around the room and have students retell the entire summarized story back to you by reading the banner in order.
Recommended Products
As an Amazon Associate and member of other affiliate programs, I earn from qualifying purchases.
Easter Lesson #3- "Go, Tell the World About Me"
Students will reflect on the Great Commission in Matthew 28, and why we need to embrace this directive as Believers today.
*Craft Option- Go, Tell bracelets
Materials
- Song, "The Commission", by Cain
- Small bouncy ball or beanbag
Instructions
- Open session in prayer, and then play the song, “The Commission" by Cain. (Youtube link here.) Or play as students are trickling into the classroom, if you prefer.
- Say: This song describes what we call The Great Commission in the Bible. Does anyone know what a commission is? (Oxford definition is: “an instruction, command, or duty given to a person or group of people.”). Jesus gave a special Commission to his followers after his Resurrection, which we’re going to learn about today.
- Give the first reader the ball/beanbag. Read out loud one verse at a time, around the table: Matthew 28:16-20. After each person reads their verse, they can toss the ball/beanbag to the next person of their choice to read.
- Passage: 16 Now the eleven disciples went to Galilee, to the mountain to which Jesus had directed them. 17 And when they saw him they worshiped him, but some doubted. 18 And Jesus came and said to them, “All authority in heaven and on earth has been given to me. 19 Go therefore and make disciples of all nations, baptizing them in[b] the name of the Father and of the Son and of the Holy Spirit, 20 teaching them to observe all that I have commanded you. And behold, I am with you always, to the end of the age.”
- Ask: What do you notice first in these verses? (Leave room for discussion on their initial thoughts on this passage. If there are only a few who give answers, be sure to ask, “Anything else?” to give room for quieter students to chime in.)
- After discussion, say, “So the Great Commission that Jesus gave the disciples is, in a nutshell, to make more disciples! Discipleship starts with first learning who Jesus is and why we need a Savior in the first place. Once we repent of our sin and accept Him as Savior, we (hopefully) continue grow in our relationship with Him (a lifelong process, right?). Usually, we’re being discipled all along the way (that’s why we come to church and continue training underneath others, and make Christian friends.). And at the same time, we learn how to make disciples, too. So -- making disciples is kind of like passing a ball (or a baton, if there are any runners in the room), to others, like you just did. You tell someone about Jesus, and they tell someone about Jesus, and so forth. If you’re a Christian today, it’s because someone was faithful to the Great Commission and shared the Gospel with you. If you’ve been a Christian for a while now, it’s likely because someone was faithful to help you grow beyond your initial decision to follow Christ.
- Ask, “Why do you think it’s sometimes hard to share the Gospel?” Let students share their responses.
- Then ask, “What are some ways we can remove those barriers (mentioned above)? Or, What are some ways you’ve overcome these barriers? Let students answer, then offer possible suggestions: *Knowing Scripture well so we can be ready to give an answer to questions about our faith. (1 Peter 3:15) *Praying for opportunities and asking the Holy Spirit to go ahead of us and give us words to speak. *Developing meaningful relationships with those around us, so that those opportunities to share Jesus can be natural- and more effective than just randomly Bible-verse-bombing someone. 😉
- Say, “Remember, our Commission is actually a command! It’s not a ‘if you feel like it, when you get around to it, one day…’ suggestion. Most people aren’t just going to pick up a Bible from a bookstore, start reading, and decide to become a Christian on their own. God knew we would need the support, example, and love from other Christians to bring us into his Kingdom. It’s the way he designed it. So be encouraged, that if he commands us to make disciples, he will equip us to do so.”
- End by Reading 2 Peter 1:3: His divine power has granted to us all things that pertain to life and godliness, through the knowledge of him who called us to his own glory and excellence.
- Make Go, Tell Bracelets below.
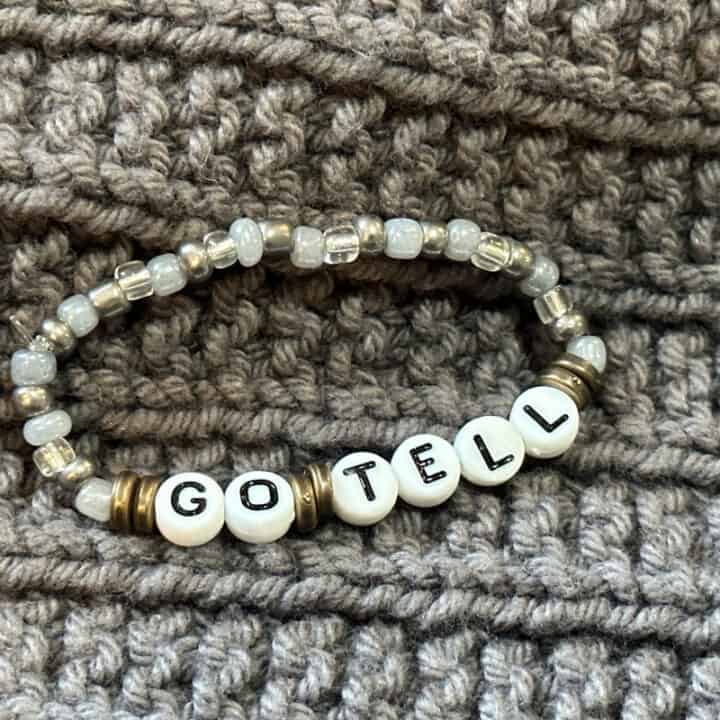
Go, Tell Bracelets- Craft
Students can make these easy bracelets to remind them of their Great Commission directive every day.
*See very end of this section for links to products I used (if needed).
Materials
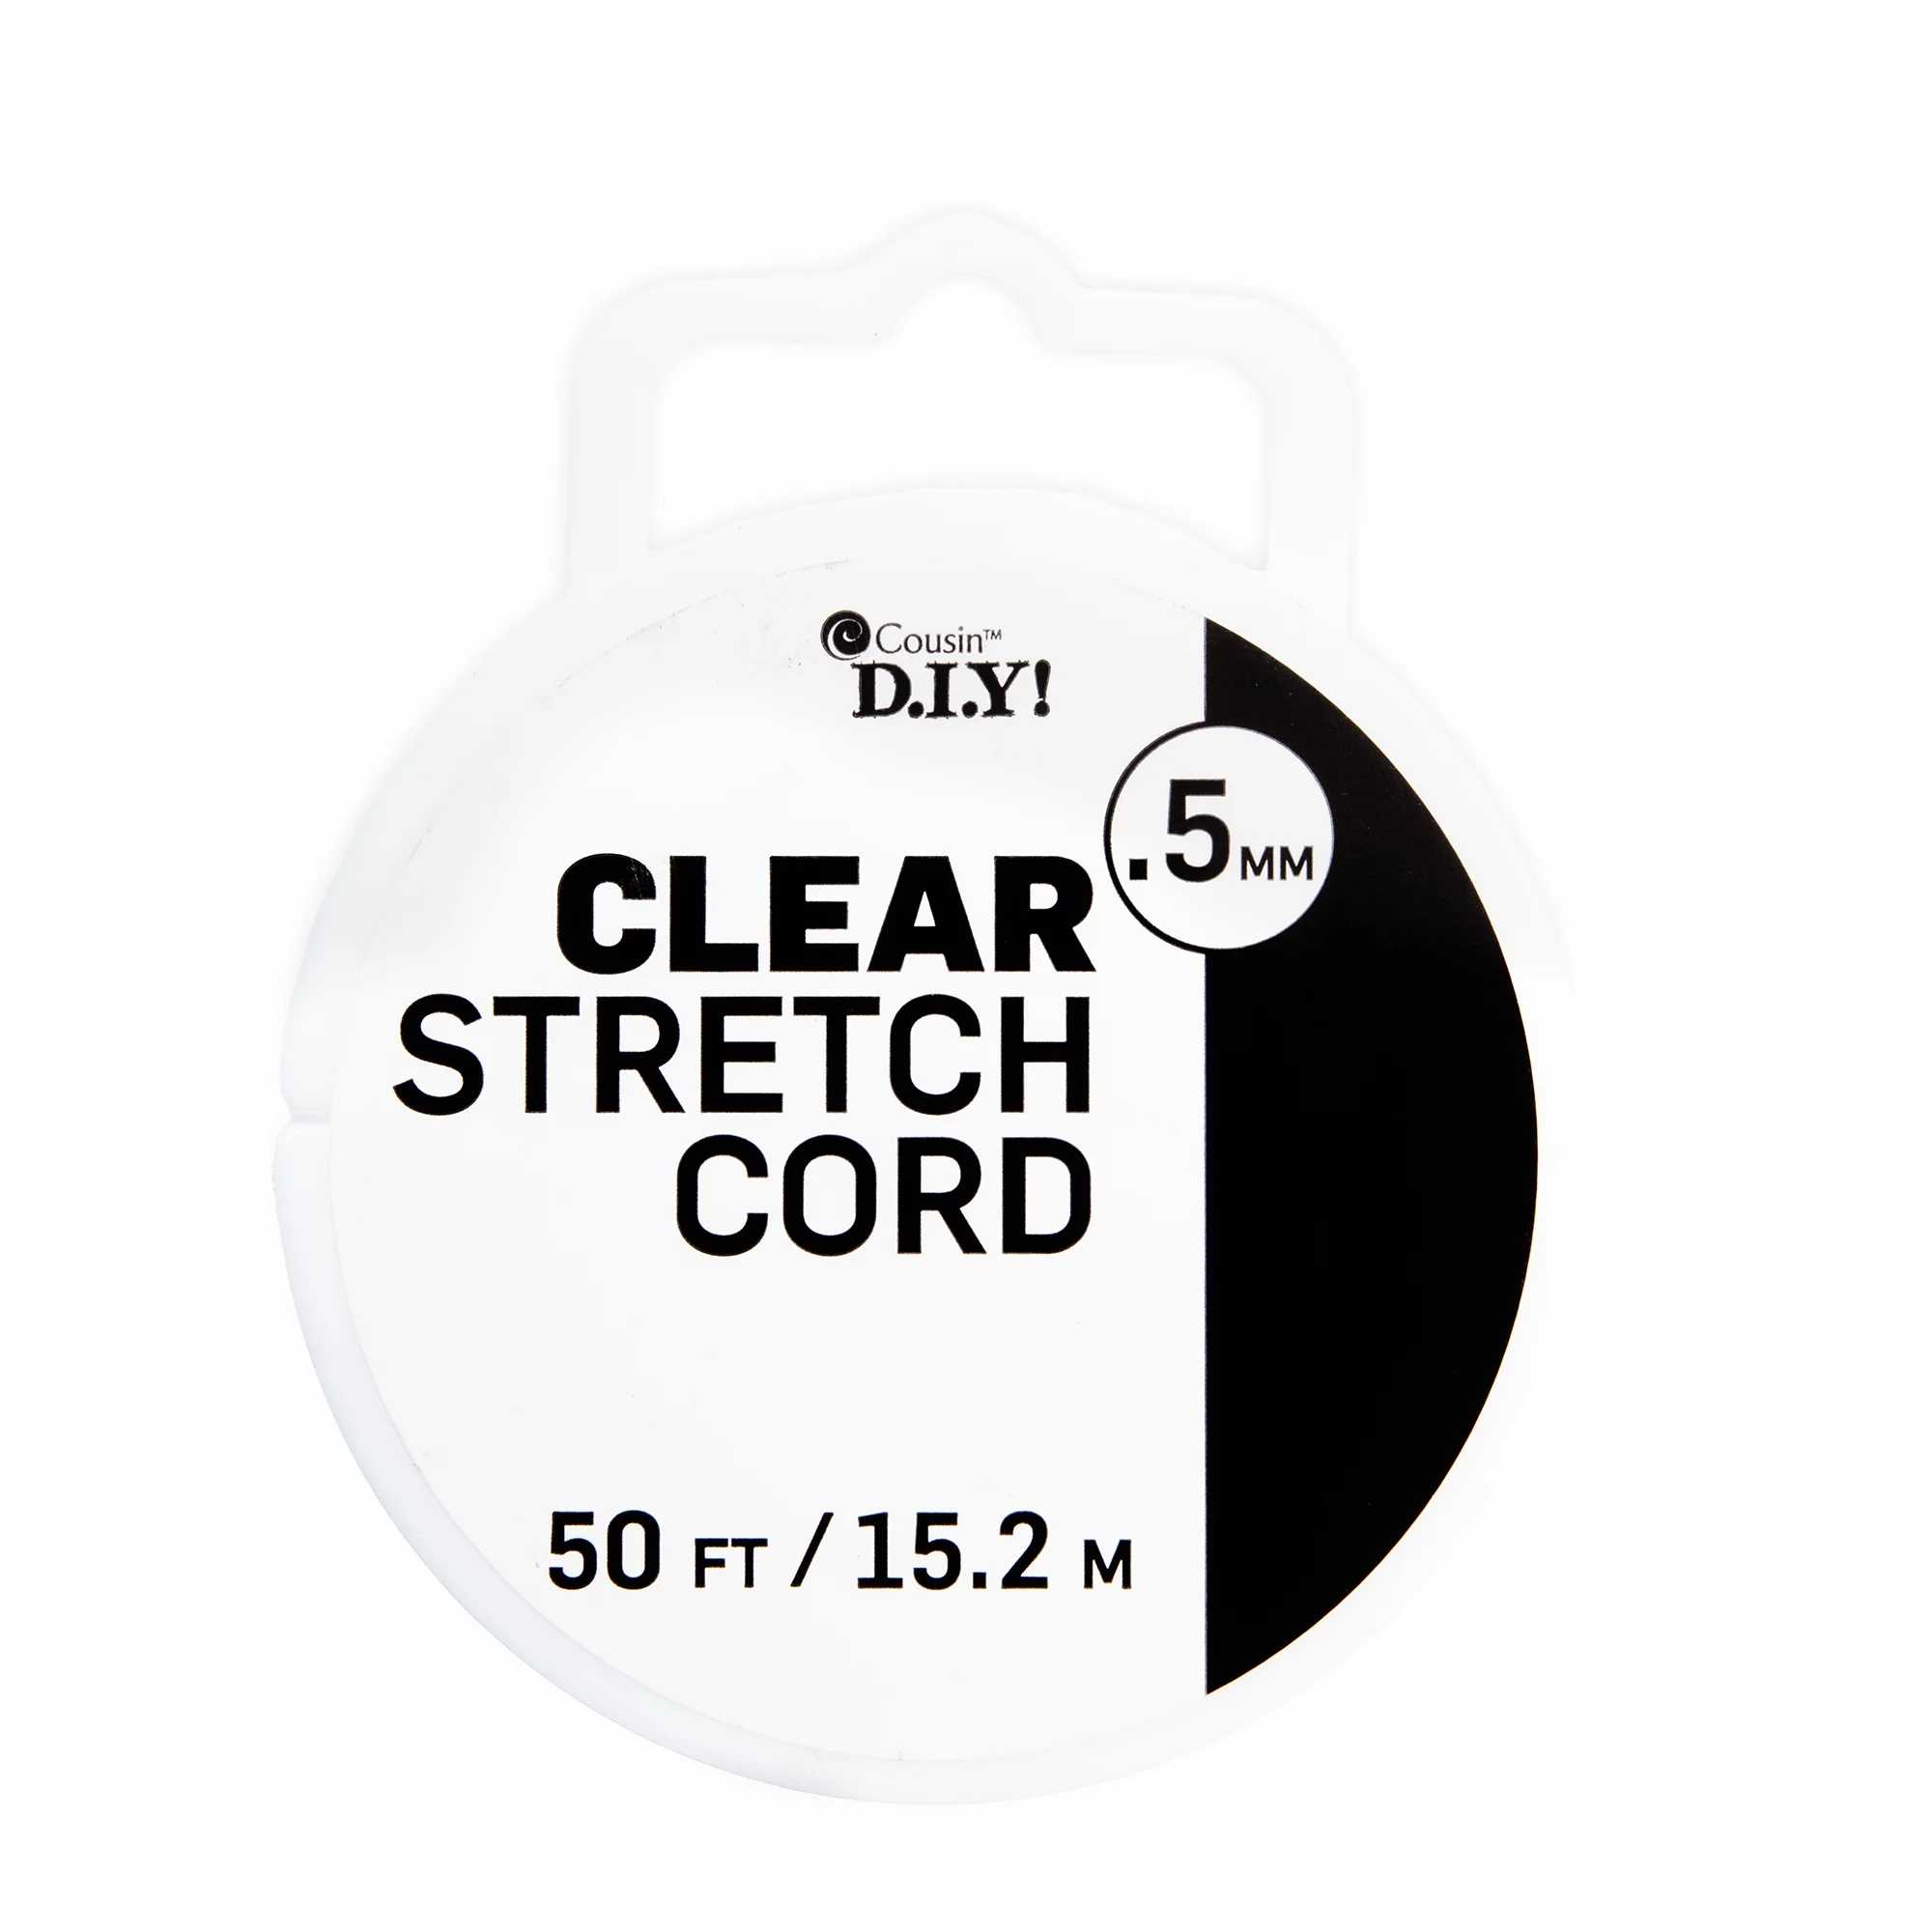
- Clear Stretch Cord
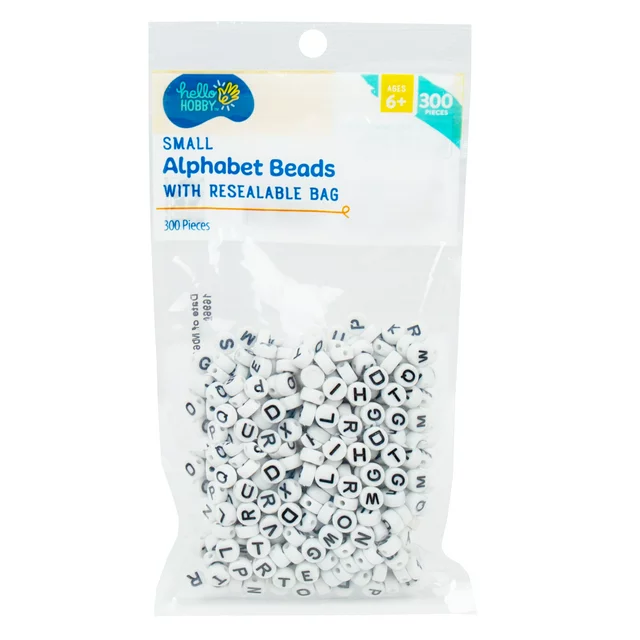
- Letter beads
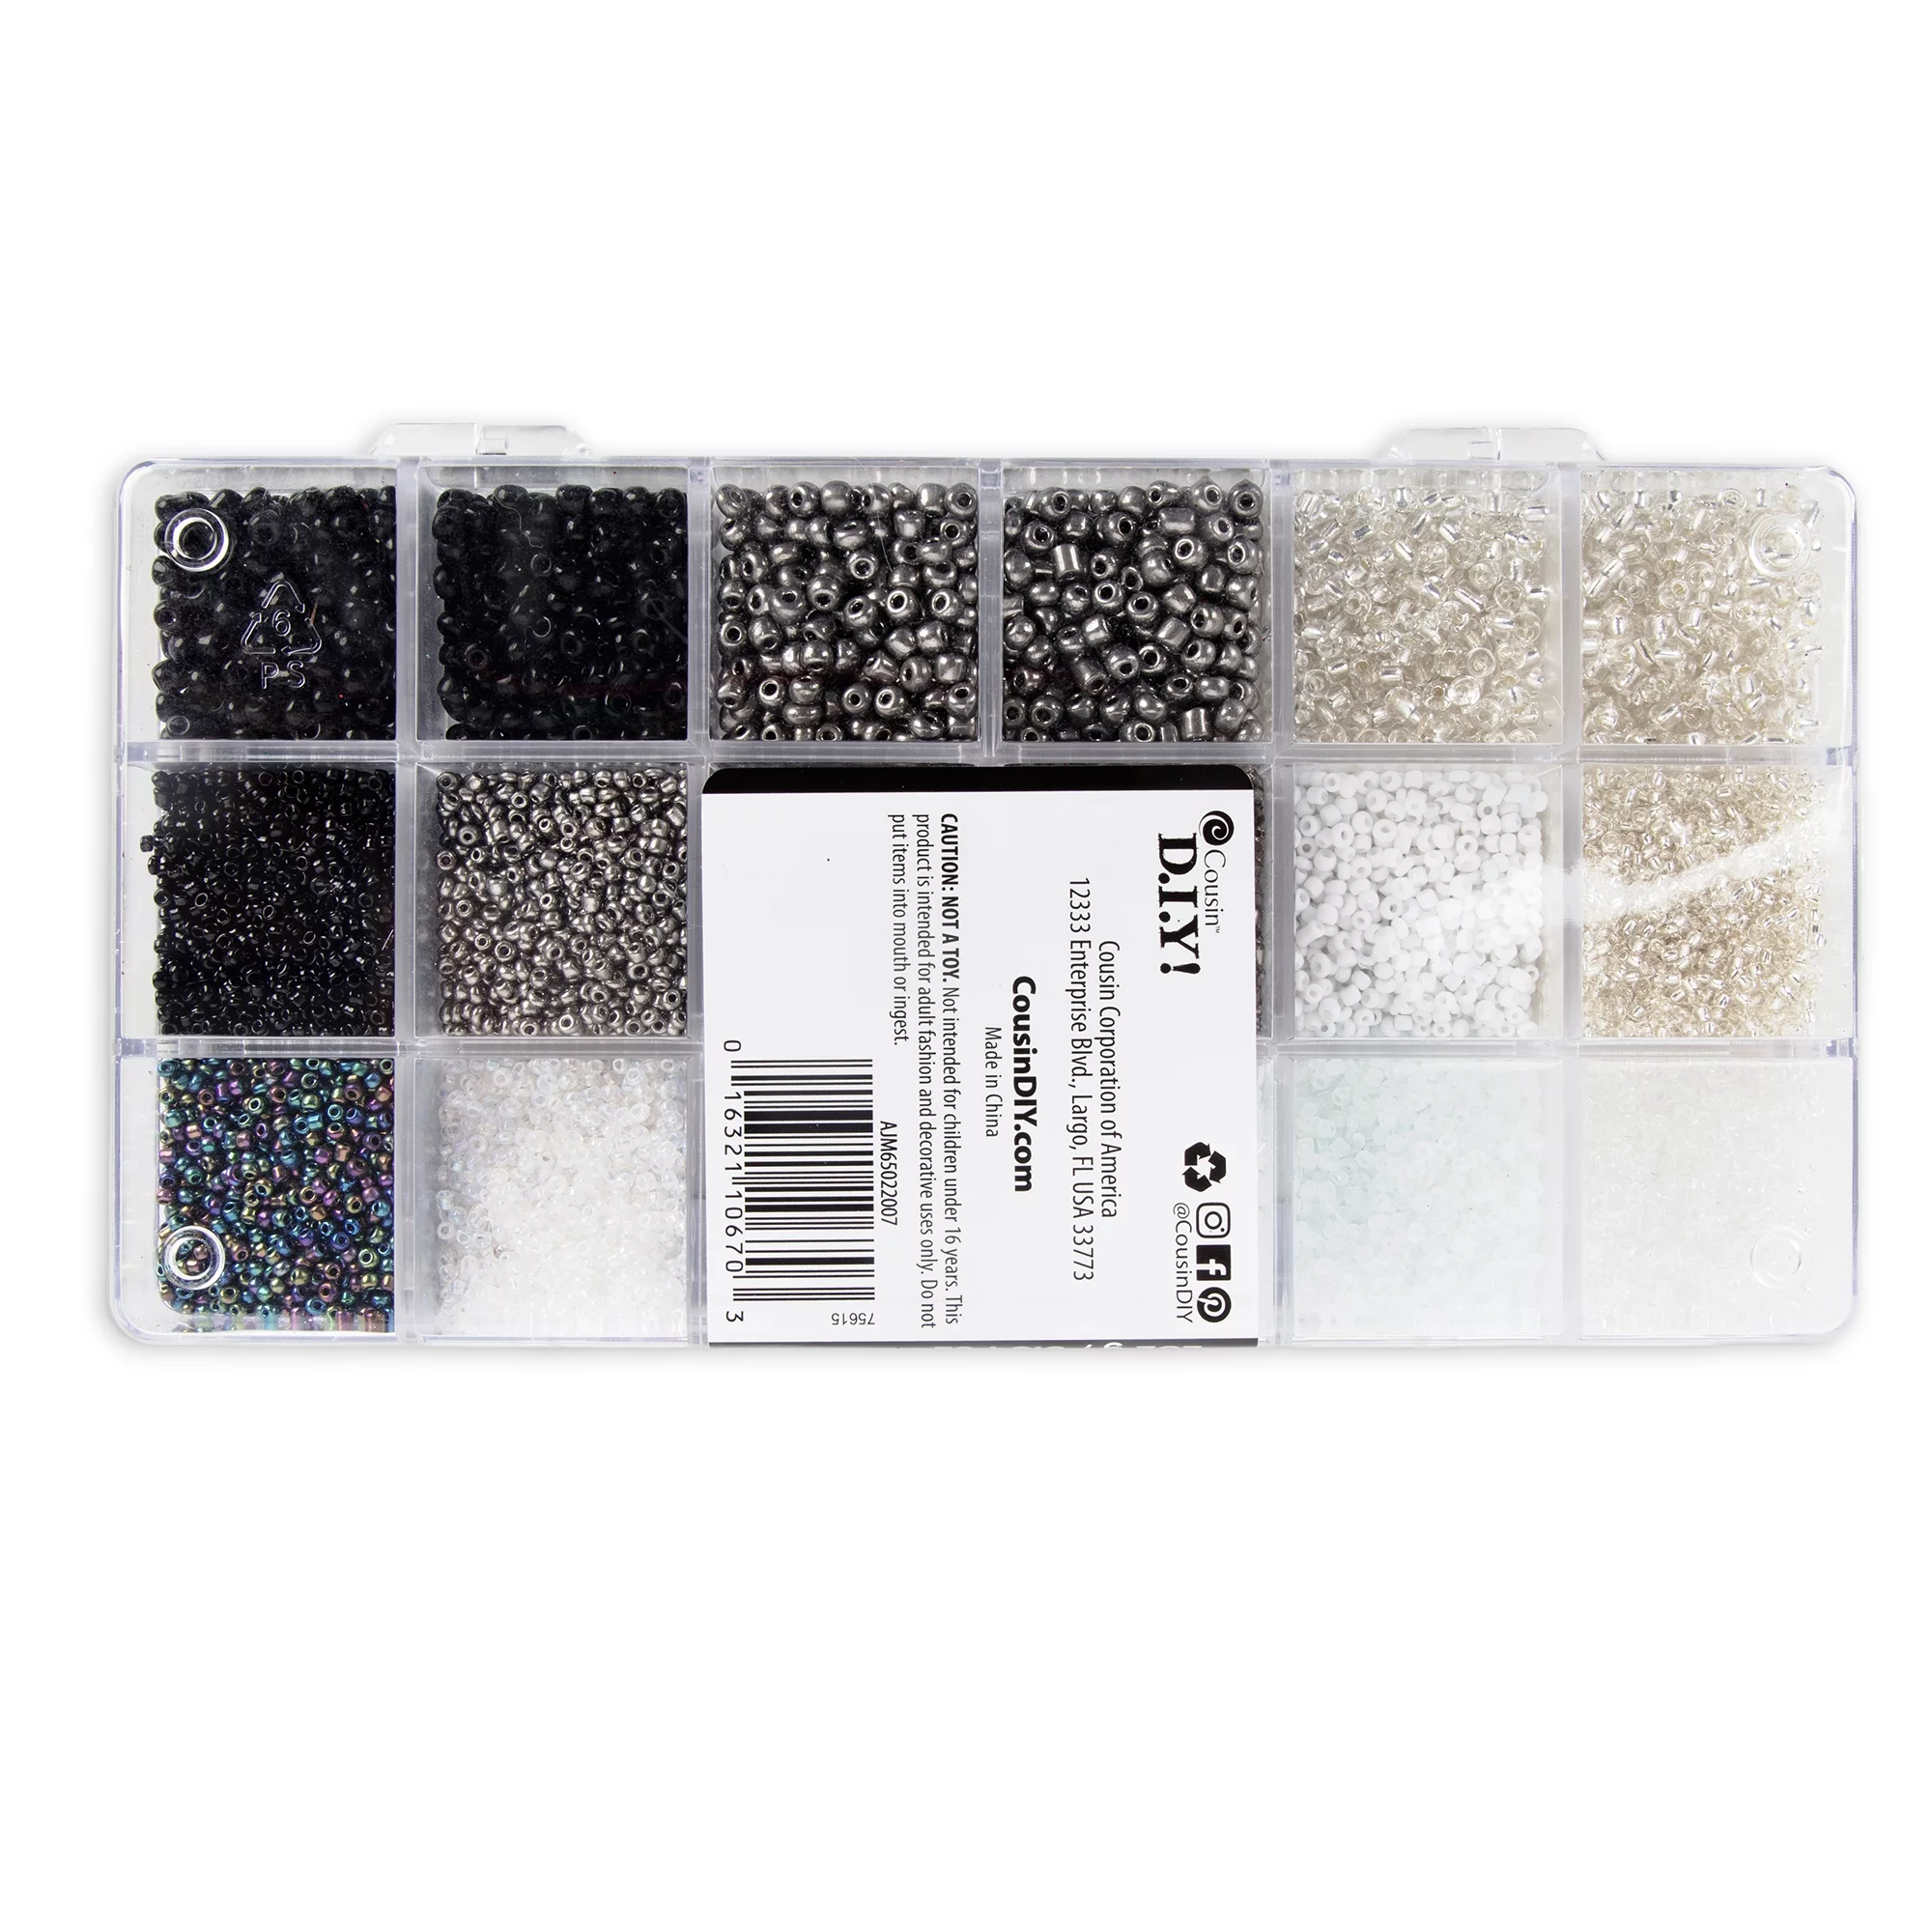
- Spacer and filler beads
- Scissors
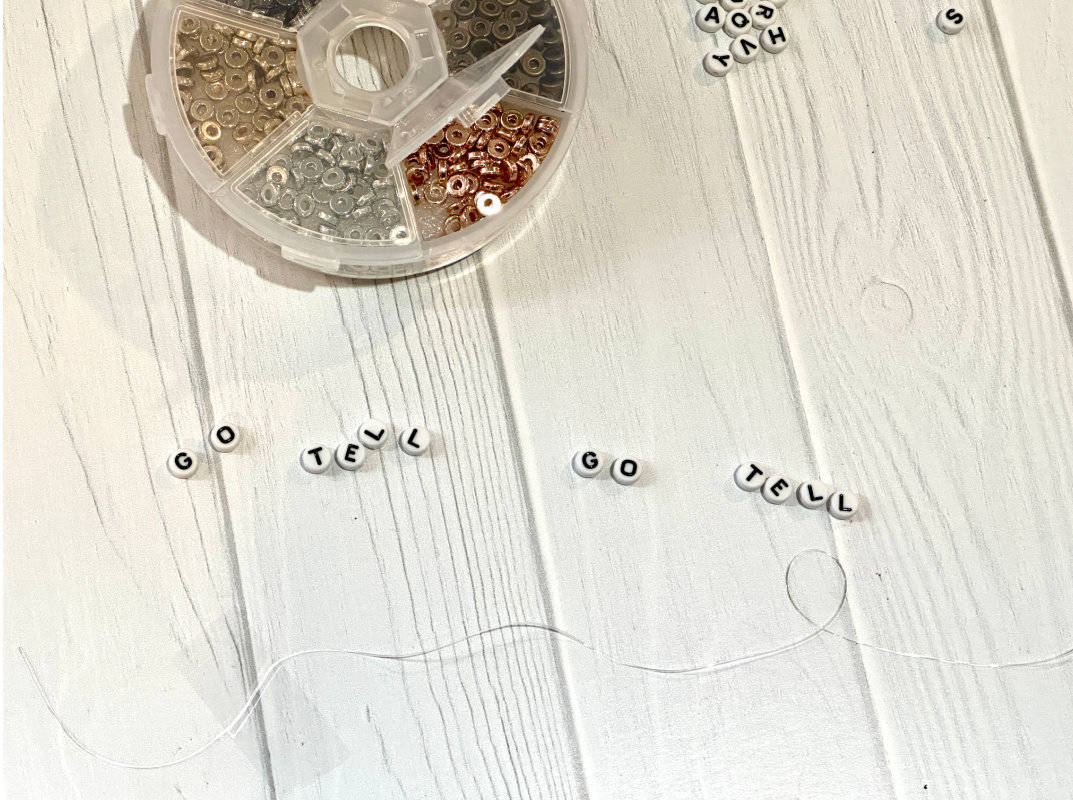
Instructions
- Separate beads into the letters for the words “go” and “tell”. Note: sometimes the variety of letters in a given pack are sketchy. You may need to get several packs of beads to have enough of the right letters, if you have a large group of students.
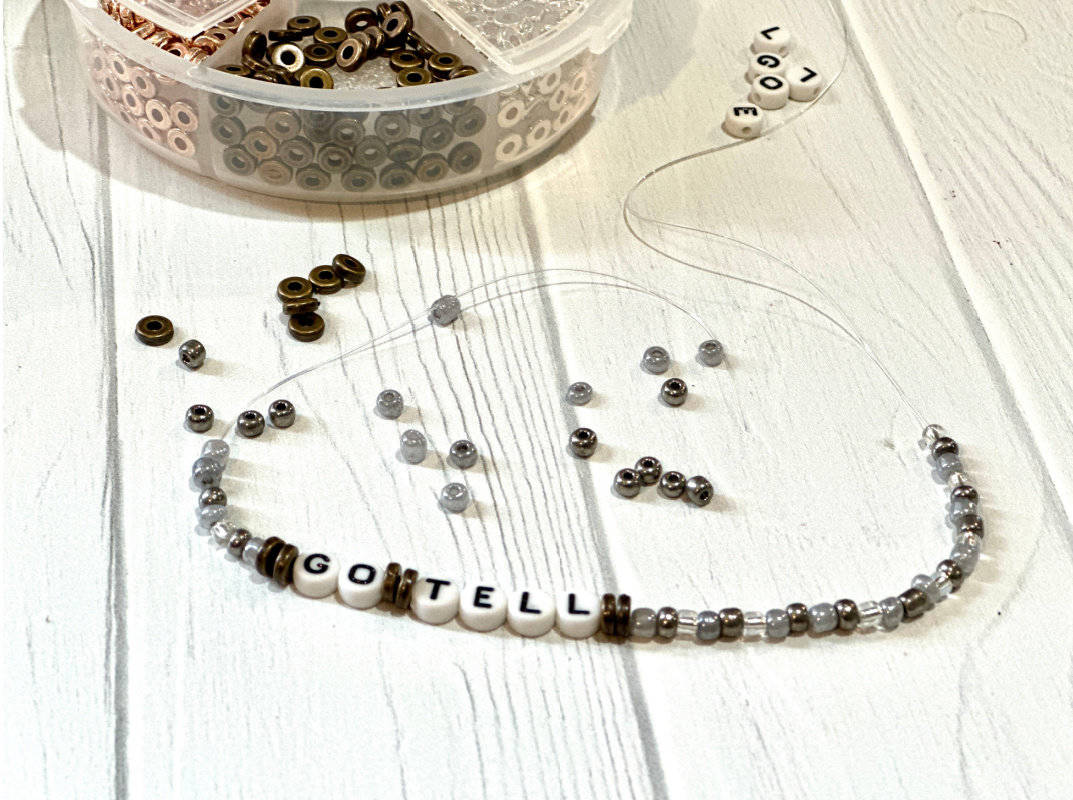
- Take approximately 10 inches of clear stretch cord for each student, and tape the beginning of the cord to the table.
- String some filler beads or spacers onto the clear stretch cord; then the words, with spacers in between; then more filler beads. Students can wrap around their wrist to see how many beads are needed to finish the bracelet.
- Leave some extra cord at the end after measuring around the wrist.
- Secure with a few knots at the end (try on before tying off.)
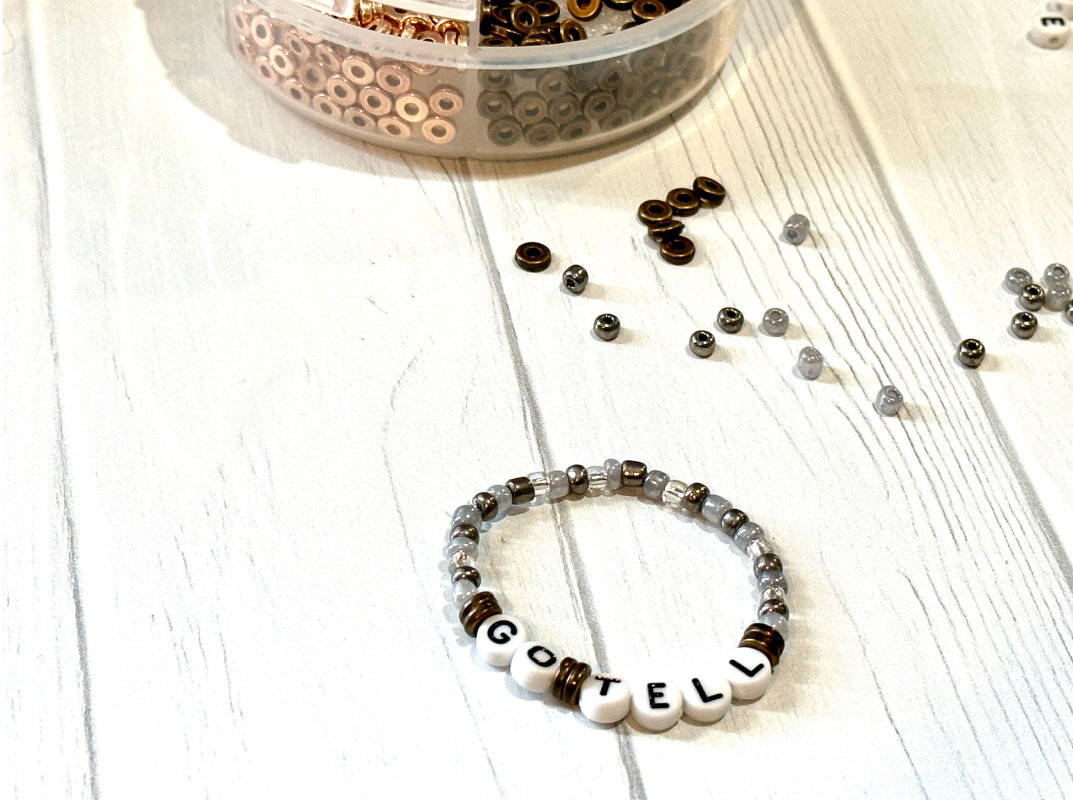
- Wear bracelets as a reminder to Go and Tell others about Jesus!
Recommended Products
As an Amazon Associate and member of other affiliate programs, I earn from qualifying purchases.

You might also like:
Easter Dessert Idea: Bunny Pastry Twists
Spring Garden Activities for Kids to Learn about Planting Season
Every link i click on is for the banner- I can’t seem to find the easter book printable?!
You are right, that link was mixed up but it’s fixed now! Thank you for letting me know!