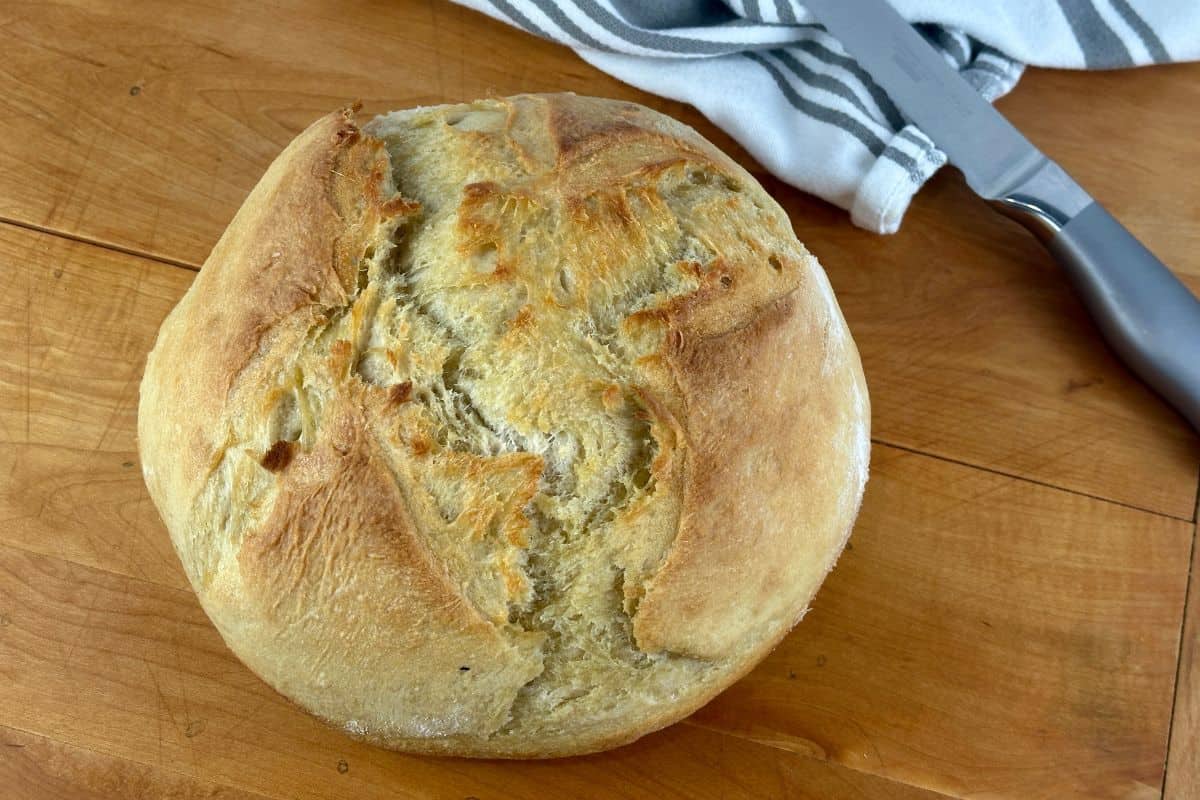
Warning: this might be the best crusty french bread recipe you’ve ever tried.
I’m not just saying that. My family is so obsessed with this bread that it’s borderline annoying!
I’ve made this rustic bread for friends and family for the past few years and it’s always a big hit with company too.
It makes it easy to impress with few ingredients and little effort.
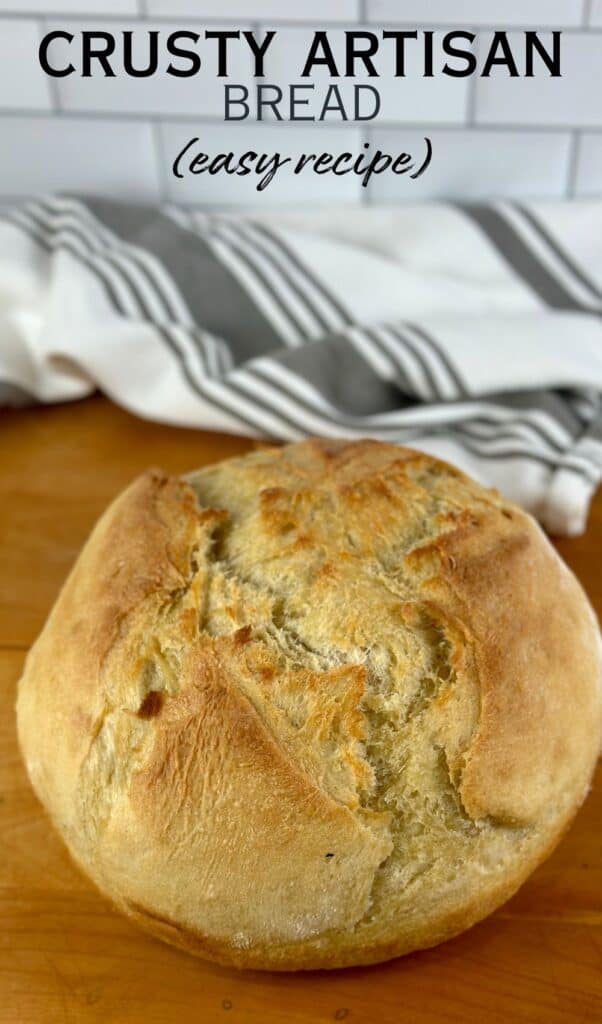
What’s NOT to love about homemade french bread?
My favorite thing about dutch oven French bread is that it’s SUPER easy, almost foolproof to make.
No kneading, no fuss.
Even if you’ve never made french bread before, I’m confident you can do this!
(P.S., it’s even easier than making sandwich bread.)
French bread is very versatile. It has that great, spongy texture perfect for dipping in soups and stews.
A good, crusty bread also pairs perfectly with anything Italian.
The recipe I’m sharing is very cheap to make, just pennies per loaf when you buy yeast in bulk.
I freeze mine in a glass quart jar and it lasts over a year.
This post likely contains affiliate links. Please see our disclosure for more info.
What you need for the perfect crusty french bread
For this recipe, it really works best in a dutch oven.
One that I often use is an old vintage 6-quart Le Creuset passed down from my Grandma.
Amazon has a line of affordable Amazon Basics Dutch Ovens that would be a great investment if you don’t own a dutch oven already.
This is another one that I own and it also makes a beautiful loaf of rustic bread.
Besides bread, I use my dutch ovens frequently for soups, stews and chili.
They’re popular because they retain heat well and cook evenly – and they last nearly forever.
Dutch oven bread: dimensions, alternatives & essentials
It doesn’t really matter the size of the dutch oven but I probably wouldn’t go with one smaller than 6 quarts for this recipe as your loaf will be tall and harder to slice (and take longer to bake through).
While I prefer the results of french bread in a dutch oven, I’ve also seen french bread made in a cast iron skillet and on a pizza stone, so you could try that too.
Otherwise, the only ingredients you’ll need are simple pantry staples: all-purpose flour, yeast, sea salt (finely ground), olive oil and Italian seasoning.
How to make crusty french bread
Below are the ingredients and step-by-step instructions. (Printable recipe card included at the bottom of this page.)
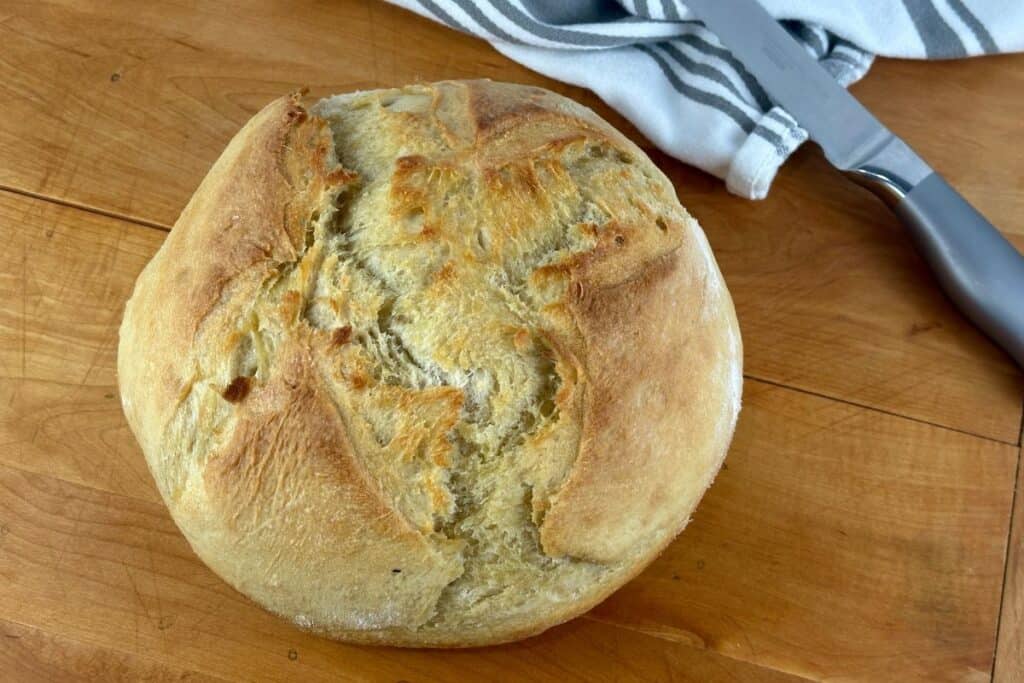
Ingredients
- 6 cups all-purpose flour
- 2-3/4 cups hot water
- 2-1/2 teaspoons active dry yeast
- 2 teaspoons fine sea salt
- 1-2 tablespoons extra virgin olive oil
- 1 teaspoon Italian seasoning
Instructions
1. Measure 6 cups of all-purpose flour into the bowl of a stand mixer, along with the 2 teaspoons of fine sea salt and 2-1/2 teaspoons of active dry yeast.
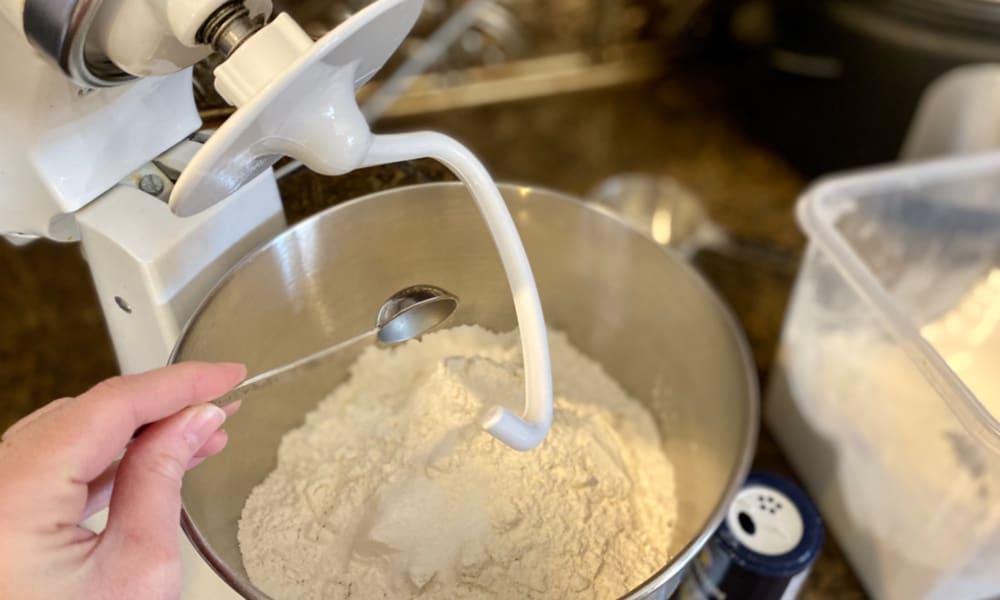
2. Stir the dry ingredients with the dough hook attachment, scraping the sides of the bowl a few times to mix thoroughly.
3. Slowly add the 2-3/4 cups of hot water. (Not scalding, but hot water from the tap.)
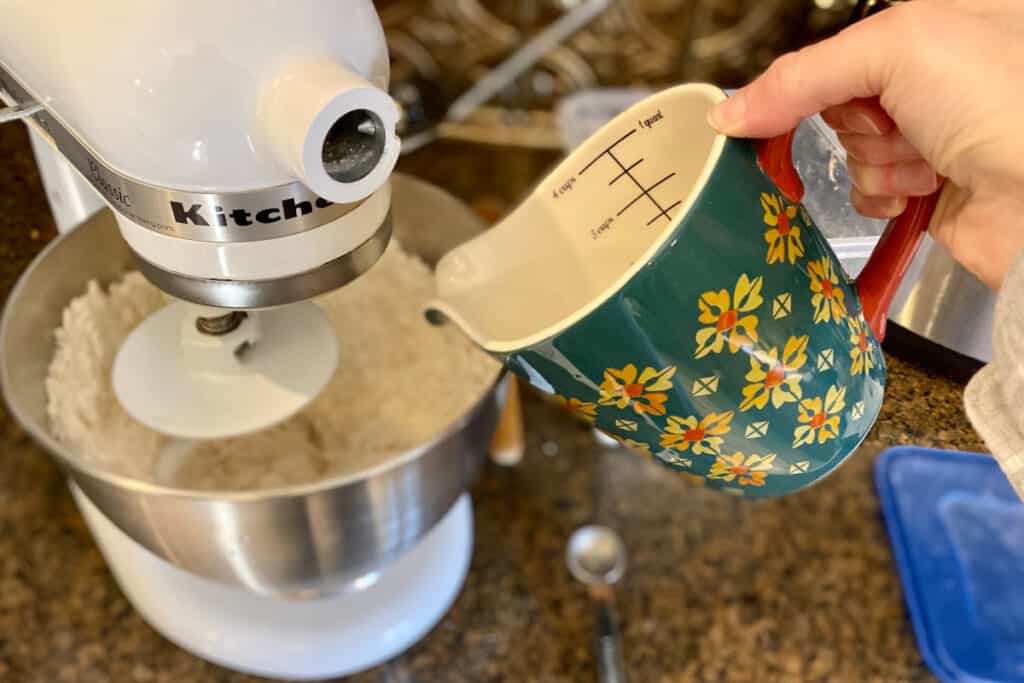
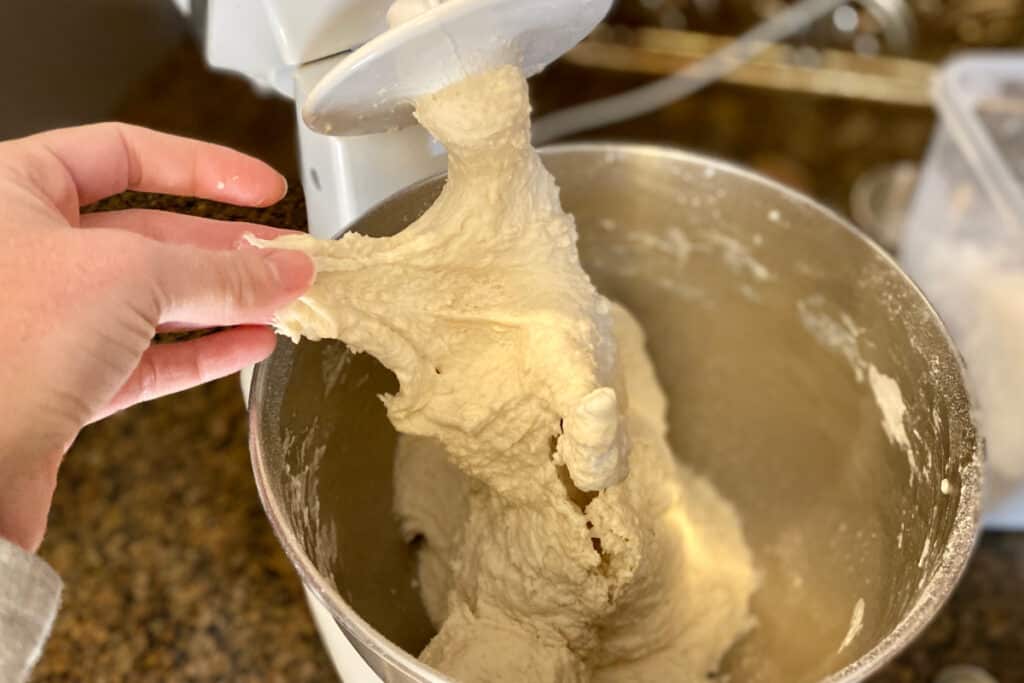
4. Mix just until ingredients are fully incorporated. Dough should be sticky and stick to the bottom of the bowl, but have some elasticity when you pull it.
If it’s too soupy, add another 1/4-1/2 cup of flour until it’s the right consistency. Keep in mind you are not looking for smooth “kneaded” bread dough.
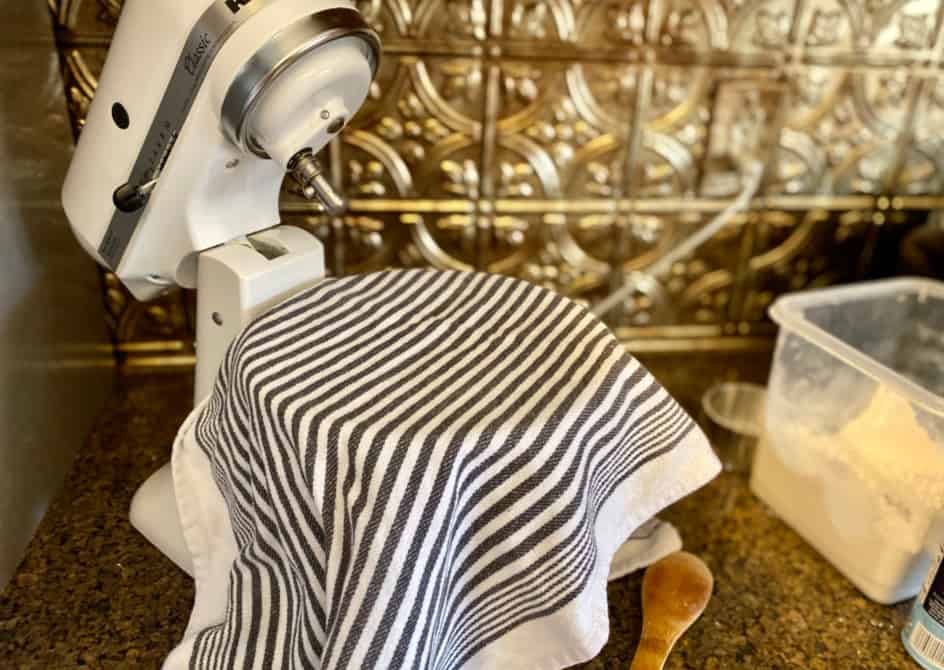
5. Remove dough hook. Cover the bowl loosely with saran wrap, then a tea towel and set in a warm place to rise for approximately 1.5 to 2 hours. (I set mine on the counter closest to the fridge.)
You want the dough to almost double but not be spilling over the top of the bowl. The bread is nice and dense/chewy when it doesn’t over-rise.
6. Just before dough is risen, pre-heat oven to 450 degrees and place an oven-safe bowl/dish on the bottom rack with about 4 cups of water in it.
This will create the steam needed for the crust on the bread.
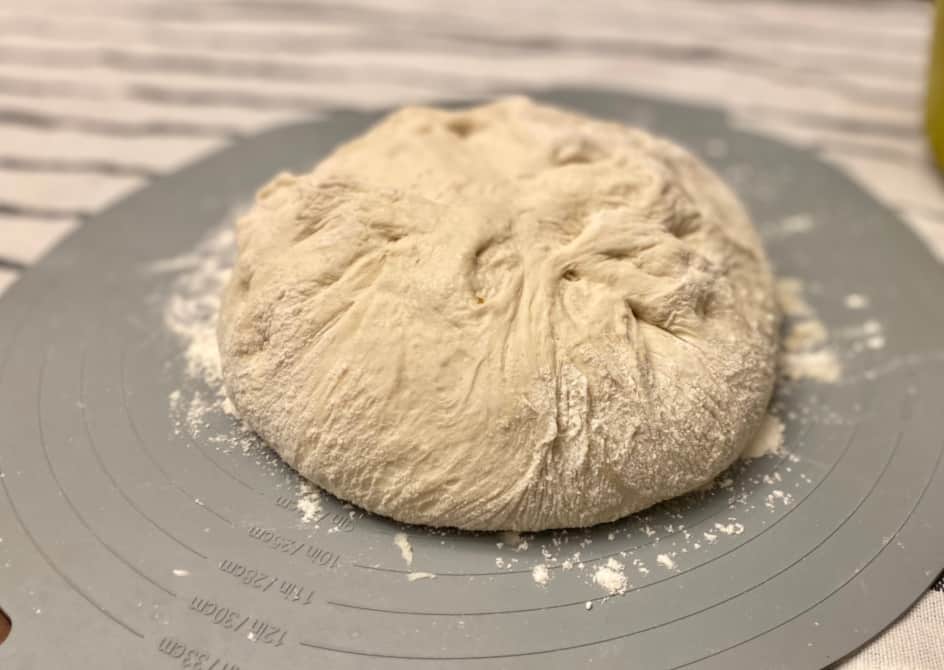
7. Once dough has almost doubled, turn out on a floured surface (approximately 1/4 cup of flour).
Gather the edges of the dough to the center as shown, to make a circular shape.
Do NOT knead bread or handle it more than necessary.
8. Grease dutch oven by basting with olive oil on bottom and sides.
Flip dough over (so seams will be on the bottom with a nice smooth top), smooth slightly into a round shape and place in greased dutch oven.
Score the dough with an “X” with a sharp knife.
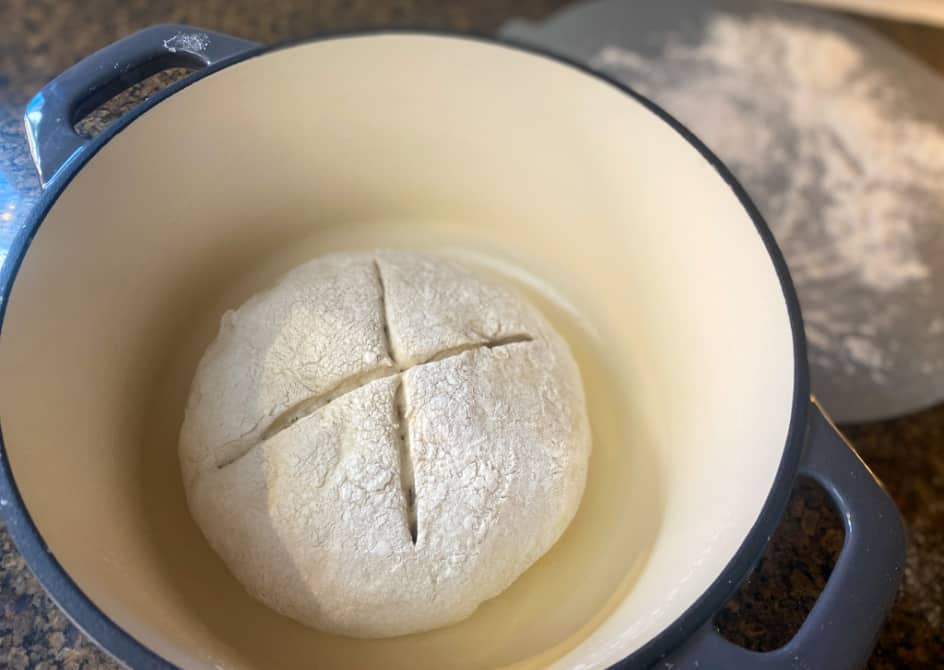
9. Place in a preheated 450-degree oven and bake for 20 minutes.
10. After 20 minutes, baste the top of the bread all over with approximately 2 tablespoons of olive oil; sprinkle with the 1 teaspoon Italian seasoning.
11. Bake another 10-20 minutes until deep golden and crispy on top.
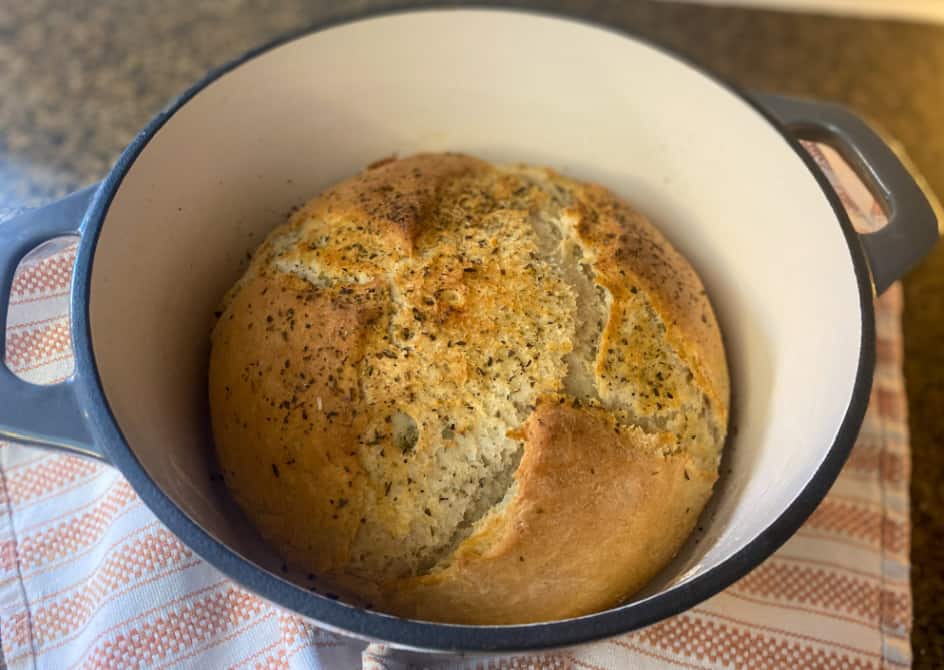
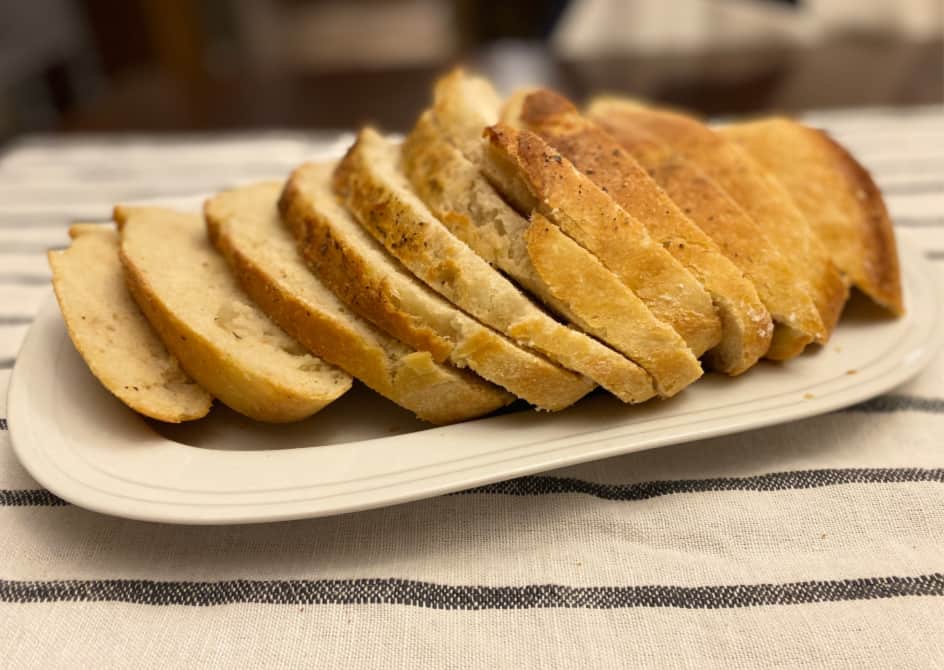
12. Remove from oven and turn onto a cutting board. When partially cooled, use an electric serrated knife for easy slicing.
Perfect Crusty French Bread Recipe (in a dutch oven)
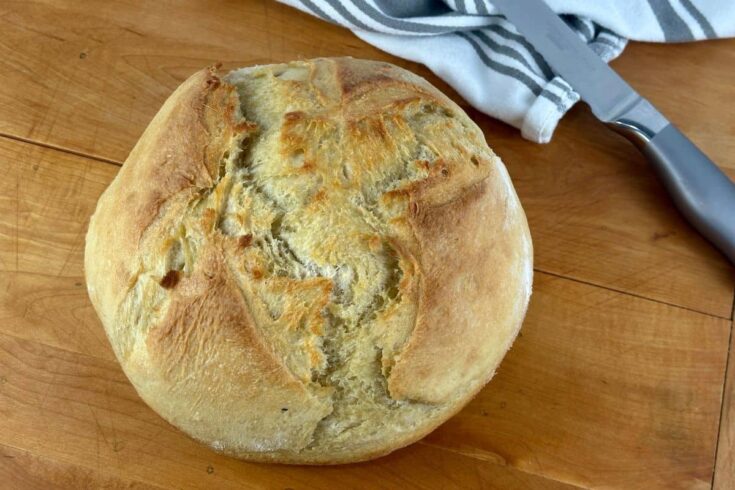
The perfect crusty, chewy french bread made in a dutch oven.
Ingredients
- 6 cups all-purpose flour
- 2-1/2 teaspoons active dry yeast
- 2 teaspoons fine sea salt
- 2-3/4 cups hot water
- 2 tablespoons extra-virgin olive oil (+ more for greasing pan)
- 1 teaspoon Italian seasoning
Instructions
- Add the 6 cups of flour, 2-1/2 teaspoons of yeast and 2 teaspoons of fine sea salt to mixing bowl of a stand mixer; stir with a dough hook on low speed until combined.
- Slowly add 2-3/4 cups of hot water (not scalding) to the dry ingredients and mix on low speed until incorporated. Dough should be somewhat elastic and sticky and will stick to bottom of bowl. If it's too soupy, add another 1/4 to 1/2 cup of flour until combined. (Note: dough should be mixed but not kneaded, and will still have some lumps.)
- Remove dough hook from bowl and cover bowl loosely with saran wrap and then a tea towel. Set in a warm place and let rise 1.5 to 2 hours until almost doubled. Do not let dough over-rise and spill over top of bowl.
- When dough is almost risen, grease bottom and sides of a dutch oven with olive oil. Preheat oven to 450 degrees.
- Fill an oven-safe bowl with approximately 4 cups of water (about halfway up the bowl) and place on bottom rack of oven while it's preheating. Leave bowl in oven throughout baking process to create the steam necessary for the crust.
- Turn out finished dough onto a floured surface (approx 1/4 cup flour). bring edges of the dough to the center to make a round shape.
- Flip dough over so that seams are on the bottom, and place in greased dutch oven.
- Mark an "X" in the top of the dough with a sharp knife.
- Bake in preheated oven at 450 degrees for 20-25 minutes. Brush top of bread with 2 tablespoons (approx) olive oil and sprinkle 1 teaspoon of Italian seasoning on top.
- Bake bread another 10-20 minutes until it is deep-golden and develops a nice crust on top.
- Remove from oven and slice to desired thickness with an electric serrated knife.
Recommended Products
As an Amazon Associate and member of other affiliate programs, I earn from qualifying purchases.
-
 KitchenAid K45DH Dough Hook Replacement for KSM90 and K45 Stand Mixer
 -
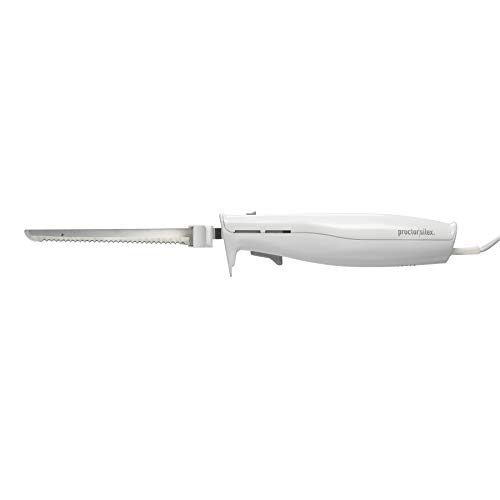 Proctor Silex Easy Slice Electric Knife for Carving Meats, Poultry, Bread, Crafting Foam and More, Lightweight with Contoured Grip, White (74311Y)
 -
 AmazonBasics Premium Enameled Cast Iron Dutch Oven, 5-Quart, Deep Blue
 -
 Simply Organic Italian Seasoning Certified Organic, 0.95-Ounce Container
 -
 Pompeian Organic Extra Virgin Olive Oil - 24 Ounce
 -
 Morton Fine Mediterranean Sea Salt 17.6 oz. (pack of 2)
 -
 Red Star Active Dry Yeast 16 oz (1 Pound) Size
 -
 365 Everyday Value, All-Purpose Flour, 5 lb
Frequently asked Questions
Are you sure I don’t have to knead this bread?
-Yes! This is truly a no-knead bread. It’s meant to be more dense, therefore the less you handle it, the better.
How long will dutch oven bread last?
-If you keep it in a cool, dark cabinet in a covered container it will typically last longer, but in a bread bag on the counter it will stay fresh for a few days.
You could also store it in the fridge to extend the life and flavor.
Does this bread freeze well?
-There’s no reason you can’t freeze it, but it tastes best fresh.
The crusty outer layer typically becomes soft after the first day, and it will definitely be soft after you defrost it from the freezer.
What else can I use dutch oven french bread for, besides dipping in soup?
-Toast it in the toaster or oven the next day and serve with jam (try apricot!), or make a cold-cut sandwich.
It also makes excellent bread for grilled cheese!
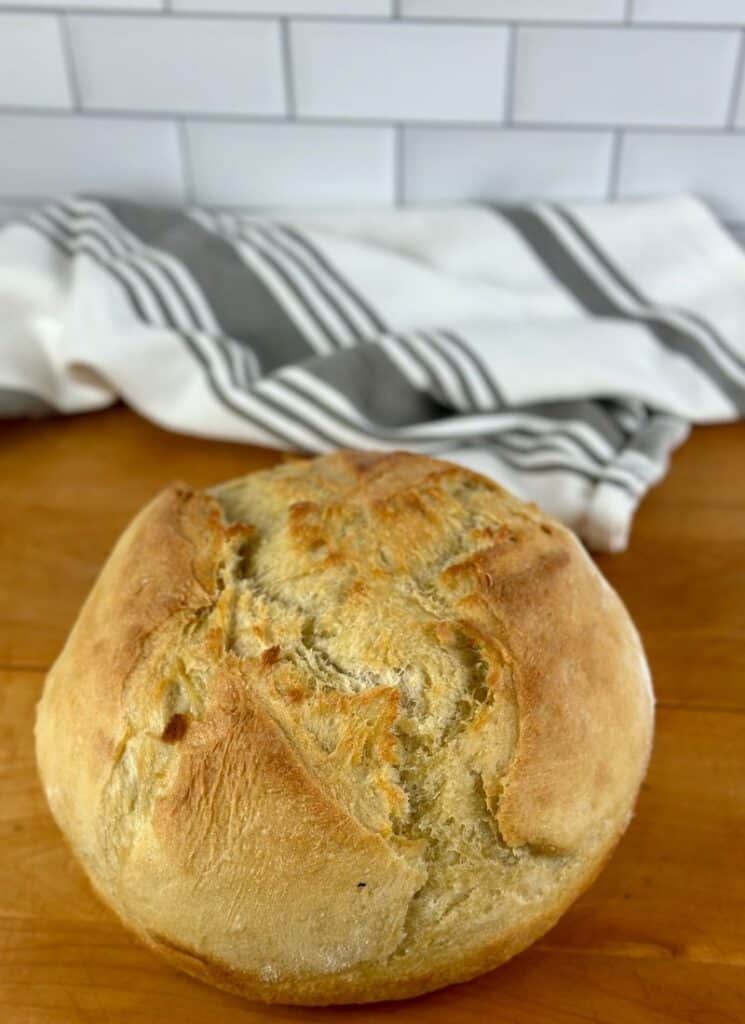
Crusty French Bread recipe: Make it tonight
I hope your family enjoys this tasty dinner companion as much as mine does.
Making your own bread at home is really satisfying (I call it my therapy!), and it’s so much cheaper to make it yourself. I also love knowing exactly what ingredients are in the foods I’m eating.
My only warning is: once you make this crusty french bread, you’ll never want to go back to boring dinner rolls or store-bought biscuits!
Perfect Crusty French Bread Recipe (in a dutch oven)

The perfect crusty, chewy french bread made in a dutch oven.
Ingredients
- 6 cups all-purpose flour
- 2-1/2 teaspoons active dry yeast
- 2 teaspoons fine sea salt
- 2-3/4 cups hot water
- 2 tablespoons extra-virgin olive oil (+ more for greasing pan)
- 1 teaspoon Italian seasoning
Instructions
- Add the 6 cups of flour, 2-1/2 teaspoons of yeast and 2 teaspoons of fine sea salt to mixing bowl of a stand mixer; stir with a dough hook on low speed until combined.
- Slowly add 2-3/4 cups of hot water (not scalding) to the dry ingredients and mix on low speed until incorporated. Dough should be somewhat elastic and sticky and will stick to bottom of bowl. If it's too soupy, add another 1/4 to 1/2 cup of flour until combined. (Note: dough should be mixed but not kneaded, and will still have some lumps.)
- Remove dough hook from bowl and cover bowl loosely with saran wrap and then a tea towel. Set in a warm place and let rise 1.5 to 2 hours until almost doubled. Do not let dough over-rise and spill over top of bowl.
- When dough is almost risen, grease bottom and sides of a dutch oven with olive oil. Preheat oven to 450 degrees.
- Fill an oven-safe bowl with approximately 4 cups of water (about halfway up the bowl) and place on bottom rack of oven while it's preheating. Leave bowl in oven throughout baking process to create the steam necessary for the crust.
- Turn out finished dough onto a floured surface (approx 1/4 cup flour). bring edges of the dough to the center to make a round shape.
- Flip dough over so that seams are on the bottom, and place in greased dutch oven.
- Mark an "X" in the top of the dough with a sharp knife.
- Bake in preheated oven at 450 degrees for 20-25 minutes. Brush top of bread with 2 tablespoons (approx) olive oil and sprinkle 1 teaspoon of Italian seasoning on top.
- Bake bread another 10-20 minutes until it is deep-golden and develops a nice crust on top.
- Remove from oven and slice to desired thickness with an electric serrated knife.
Recommended Products
As an Amazon Associate and member of other affiliate programs, I earn from qualifying purchases.
-
 KitchenAid K45DH Dough Hook Replacement for KSM90 and K45 Stand Mixer
 -
 Proctor Silex Easy Slice Electric Knife for Carving Meats, Poultry, Bread, Crafting Foam and More, Lightweight with Contoured Grip, White (74311Y)
 -
 AmazonBasics Premium Enameled Cast Iron Dutch Oven, 5-Quart, Deep Blue
 -
 Simply Organic Italian Seasoning Certified Organic, 0.95-Ounce Container
 -
 Pompeian Organic Extra Virgin Olive Oil - 24 Ounce
 -
 Morton Fine Mediterranean Sea Salt 17.6 oz. (pack of 2)
 -
 Red Star Active Dry Yeast 16 oz (1 Pound) Size
 -
 365 Everyday Value, All-Purpose Flour, 5 lb
You might also like:
28 Easy Beginner Sourdough Recipes
Quick Honey Oat Bread (with GF/DF option)
Easy Honey Wheat Hamburger Buns
20 Quick and Easy Dinner Ideas

Do you preheat your Dutch oven?
I do not. I just put the oven-proof dish with water in the oven while it’s preheating and that’s all!
I tried your sandwich bread recipe and I’m in love!
I didn’t follow exactly (sorry!), but that’s because I have some experience baking (Culinary School and stuff). I used 2 cups of APF and 1 cup bread flour.
And I used the old fashion kneading machine (me! I love playing with dough).
Sooo excited to try this recipe. Thank you for sharing.
Old fashion kneading machine- love it 😉 So glad you liked the sandwich bread! Thanks for sharing!
Hi can’t wait to try the recipes! If I wanted to use my own levain, what is the conversion from active dry yeast? I think it reduces the water and flour measurements also…
I found this article which states: “You can convert any bread recipe that uses commercial yeast into a levain-raised bread. Consider that a cup of starter has about the same rising potential as a packet of yeast. Also consider that your starter, if liquid, contains equal parts water and flour by weight (a stiff starter contains 2 parts flour to 1 part liquid by weight). Thus, if you use a cup of liquid starter in a bread recipe designed for instant or active dry yeast, weigh the cup of starter. For a liquid starter, divide the weight by 2 and subtract an equal weight of flour and liquid from the bread recipe. For a stiff starter, subtract ⅔ its weight from the flour and ⅓ its weight from the liquid.” It’s at the very bottom of the page under “growing a starter instead of commercial yeast.
This is now my second time making this crusty bread. It’s absolutely fabulous! My husband and Son go nuts over it. This will now be a new staple in our home. Thanks for the recipe!
It’s such an easy way to impress your family, right? Glad you enjoyed it!
Do you put the lid on the dutch oven?
No- leave the lid off. 🙂
Thank you! That was my question too! I think it would be very helpful to add that into the instructions! So many bread recipes say to use the lid.