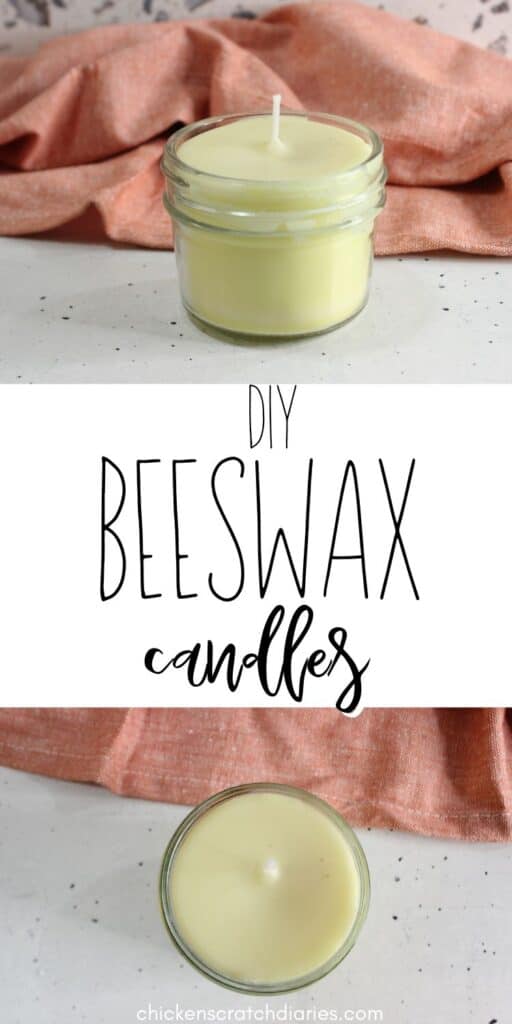
DIY Beeswax Candles with Essential Oils
Once you see how easy these candles are, you won’t want any other kind!
If you’ve wanted to try your hand at making candles at home, but were intimidated by the process- this post is for you!
You may have heard of all the concerns surrounding paraffin wax and other types of chemical-laden candles in recent years.
Between the fumes and the synthetic fragrances, I learned that I had to ditch store-bought candles years ago.
Candle-induced migraines were no fun!
Read on for our quick and easy candle making tutorial, using beeswax and essential oils.
This post likely contains affiliate links. Please see our disclosure for more info.
Why Beeswax Candles are the BEST
There is so much to love about beeswax.
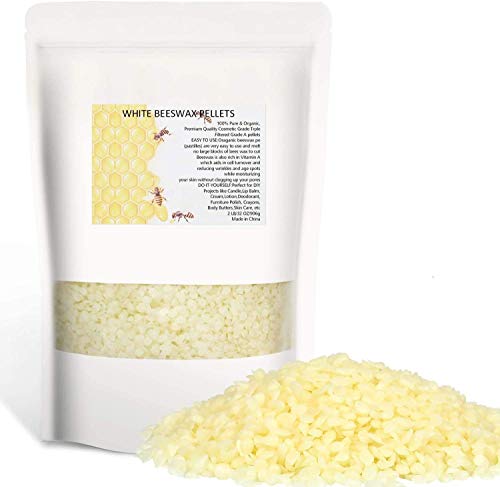
First, the beeswax pellets are really easy to measure and melt down for candle-making.
Natural beeswax is also clean burning (without crazy smoke) and produces a nice, smooth product without the need for additional ingredients.
And not only will beeswax NOT aggravate your allergies or emit toxins into the air- it also burns a long time and cleans the air of other pollutants!
Beeswax burns at a slower rate and burns longer than other candles such as soy.
All of these great qualities make it an easy choice for long-lasting DIY candles, or even emergency candles.
How to Make Scented Beeswax Candles
You could make candles with JUST beeswax, and they will have a lightly sweet scent, although not very strong.
Some people prefer unscented candles, and this is the next best thing.
But if you want fragrance without synthetic chemicals, you can add any of your favorite essential oils.
The thing to know is when to add essential oils to your beeswax candles.
The key is to add them while the wax is cooling, but not yet firm- around 160 degrees.
If you add them too soon, the fragrance will evaporate before it combines with the wax.
Do I Need a Candle Making Kit?
I’m listing a candle-making kit in this tutorial, because it is really a great value for all the items it includes.
If you already have similar materials on hand, you can of course use those instead.
Containers for Beeswax Candles
It may be obvious, but be sure to use a glass container such as a mason jar or other heat-safe glass for candle-making.
Candles do come in metal containers at the store, and you could re-use a clean container such as those; but please exercise caution as these get very hot!
Beeswax is very dense and burns at a higher temperature than other types of wax, around 145 degrees.
Because of its high melting point, you also want to avoid using large wicks as this can make it burn a little too hot.
See the step-by-step process for DIY Beeswax Candles below.
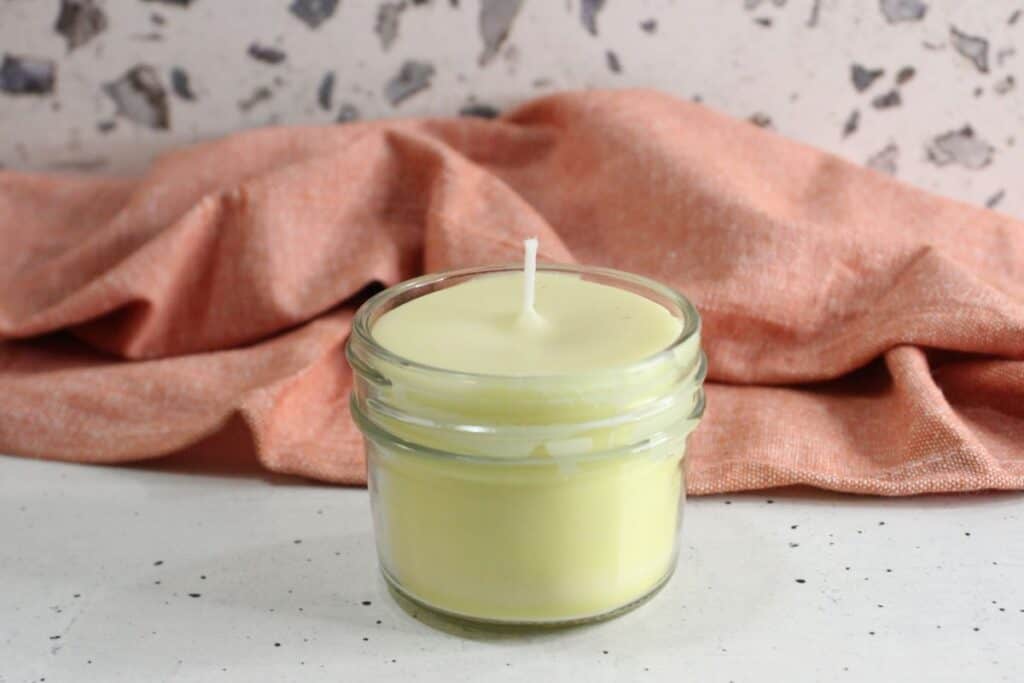
DIY Beeswax Candles
Beeswax and essential oils make a clean, allergy-friendly candle that is long-burning and smells incredible.
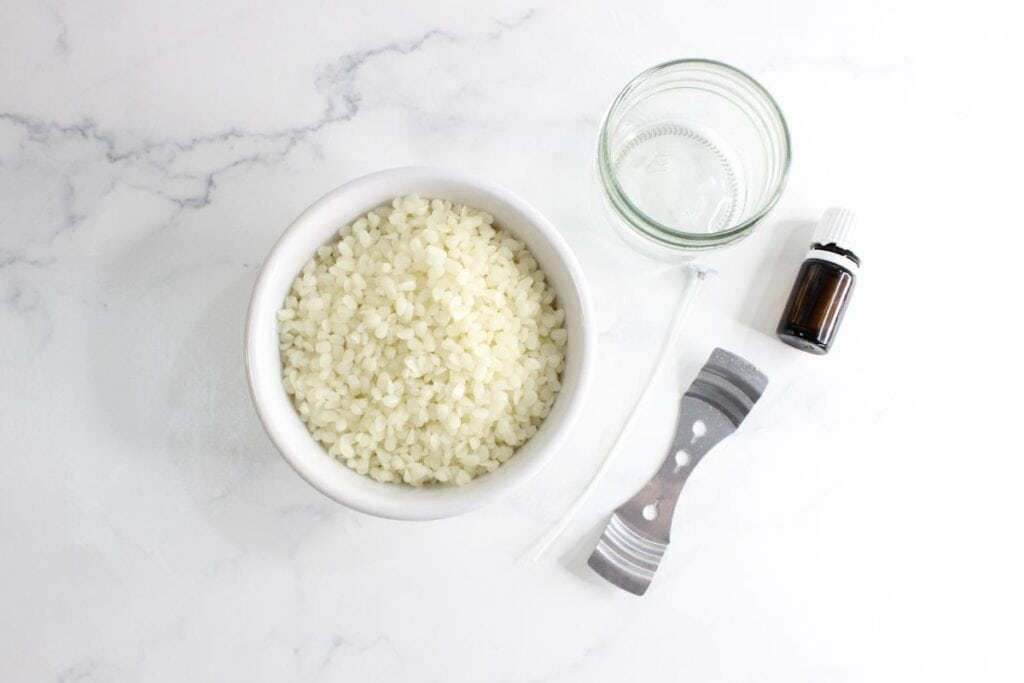
Materials
- 1 cup beeswax pellets
- 2 teaspoons essential oils (around 150 drops)
- 4 oz glass mason jars (quarter-pint jars)
Tools
- Candle making kit (OR saucepan for melting wax, candle wick with metal anchor, 2 pencils and a kitchen thermometer)
- Stovetop for melting beeswax
Instructions
- Melt the beeswax on medium low heat on the stove.
- Once it is all melted, remove from stovetop and let it cool slightly to 160-165 degrees, before adding in your essential oils.
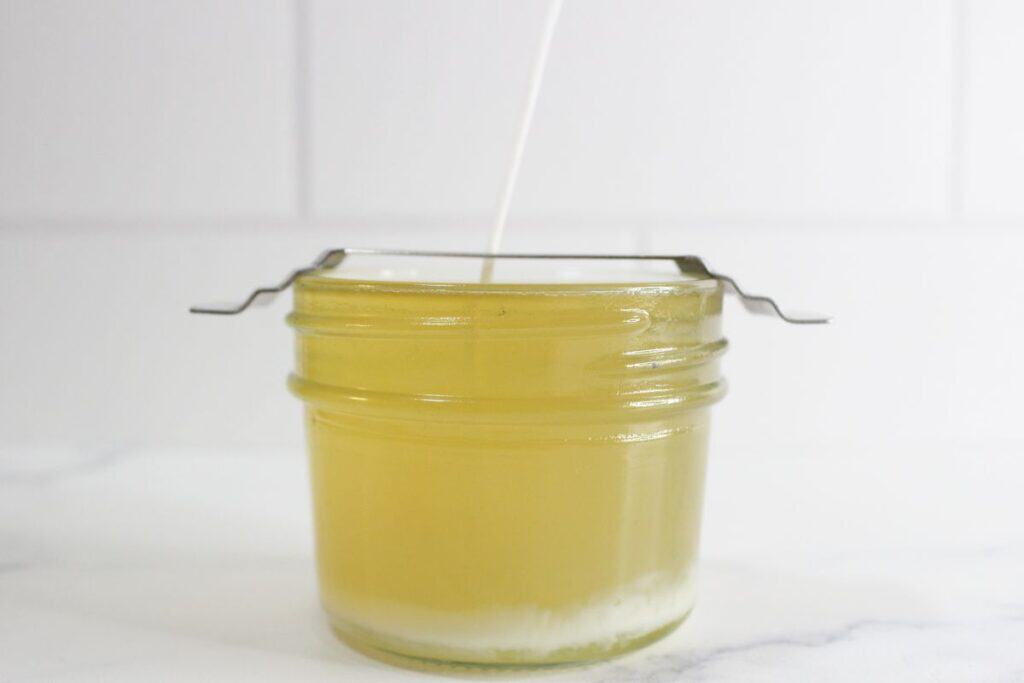
- Add your wick to the bottom of the mason jar.
- You can use either the wick holder from the candle-making kit, or 2 pencils side-by-side across the top of the jar to steady and wick and keep it centered.
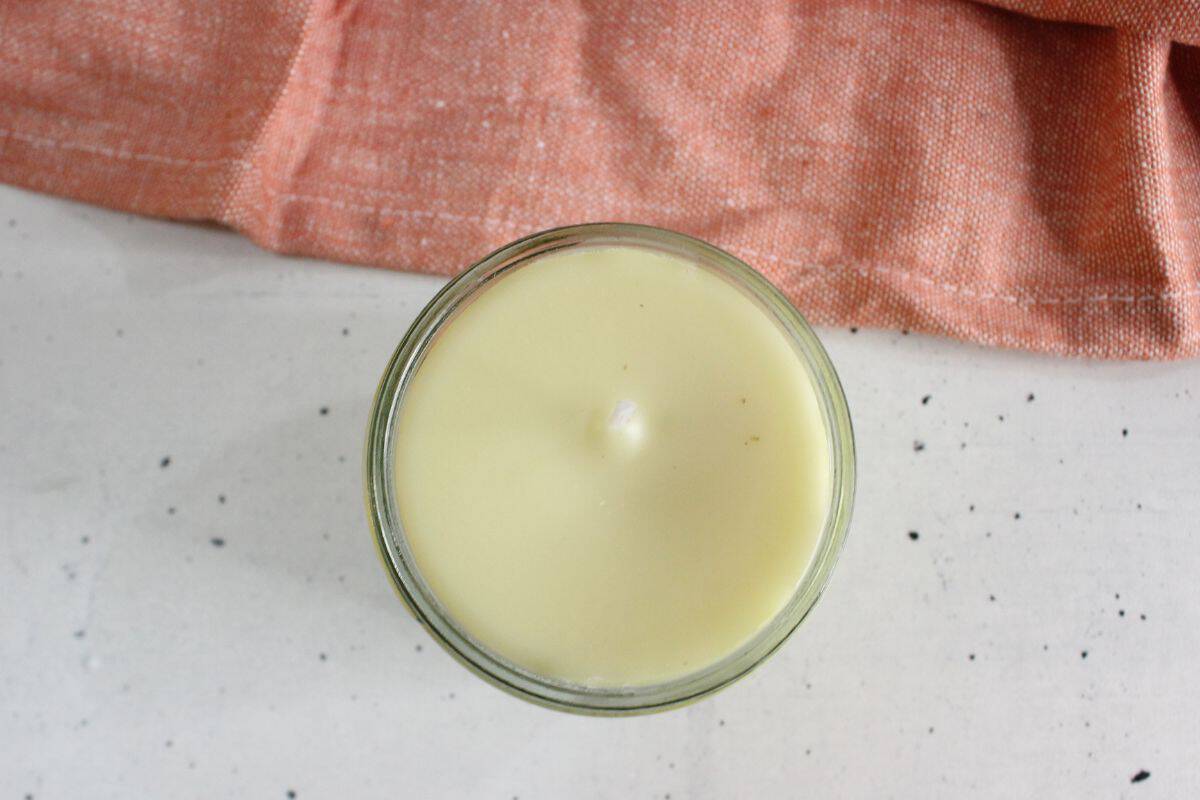
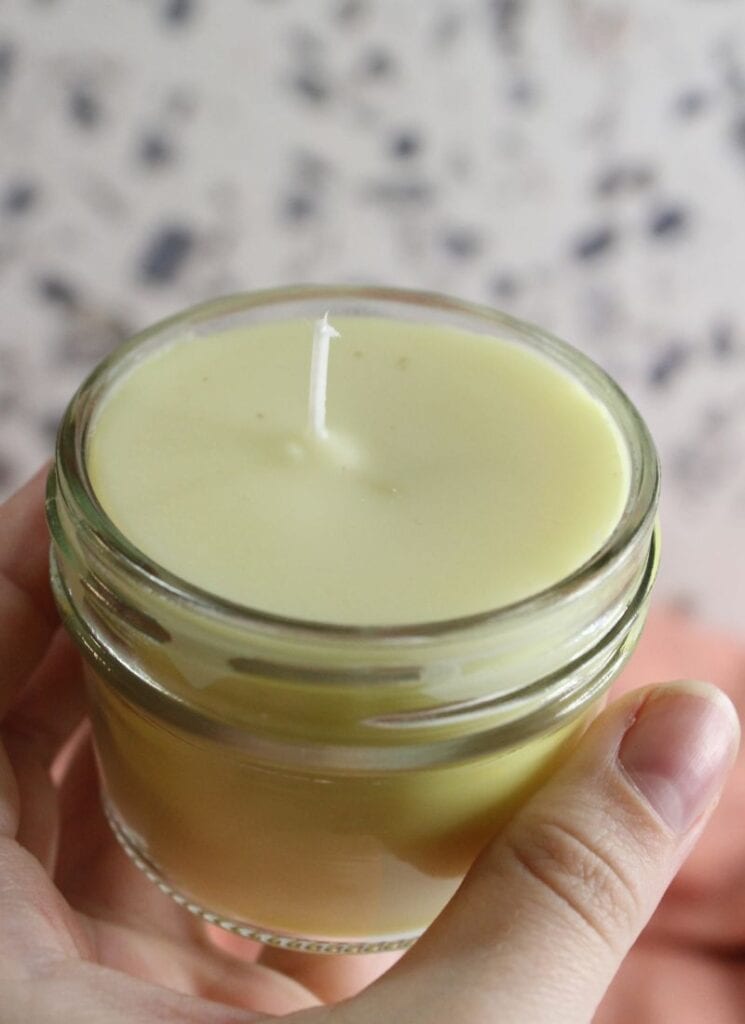
- Very carefully pour the melted beeswax mixture into the jar and let harden.
- If the top of the candle caves in after hardening, melt a little more beeswax and pour on top; let harden once more.
- Trim wick to 1/4 inch and it's ready to go!
Notes
*Use a standard sized wick (not a large wick) for this process. Larger wicks can make beeswax candles burn too hot.
*You can use either white or yellow beeswax pellets.
*Use your favorite essential oils or combination of oils.
Recommended Products
As an Amazon Associate and member of other affiliate programs, I earn from qualifying purchases.


You might also like:
Solid Bubble Bath Melts Recipe