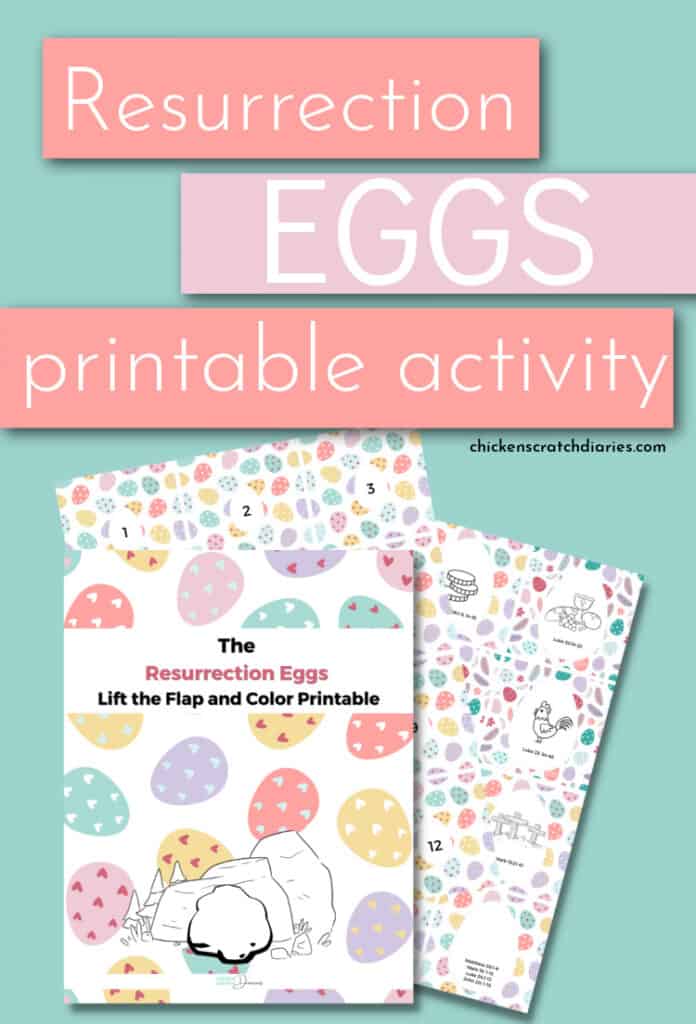
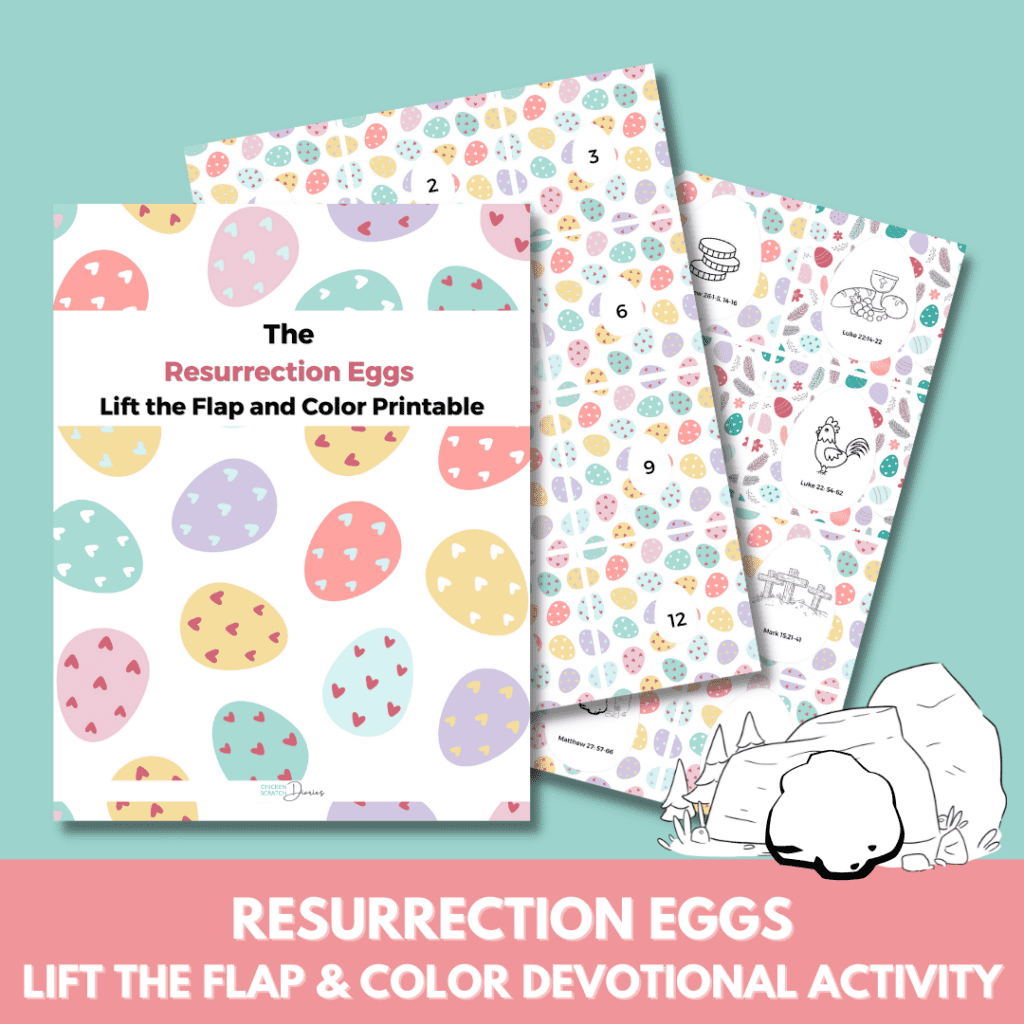
If you’re familiar with Resurrection Eggs, this printable activity makes it even easier!
We’ve taken part in the Resurrection Eggs tradition for many Easters now.
Not only is it a memorable tradition, it tells the true story of Easter in a way that kids will also remember its impact.
It combines something they will recognize as a cultural symbol of Easter (eggs), with impactful symbols pertaining to Jesus’ life, death and resurrection.
What is the Resurrection Eggs activity all about?
If you haven’t heard of the Resurrection Eggs activity, the idea is to fill 12 plastic Easter Eggs with an object that represents the story leading up to the crucifixion and resurrection of Jesus.
For instance, a palm leaf for Palm Sunday, a nail for the crucifixion, and an empty egg for the resurrection.
There is a corresponding passage of Scripture that you read each day as the kids open each egg, with the final egg being opened and the resurrection story being told on Easter Sunday.
For us, there were some years I did really well with planning the activity ahead of time; other years, not so much!
Read next:
Easter Bunny puff pastry twists– Recipe
Easter Sunday School Lessons with Activities (free)
Printable Resurrection Eggs alternative
Recently, I decided to try something different by using a printable version of the concept of Resurrection Eggs.
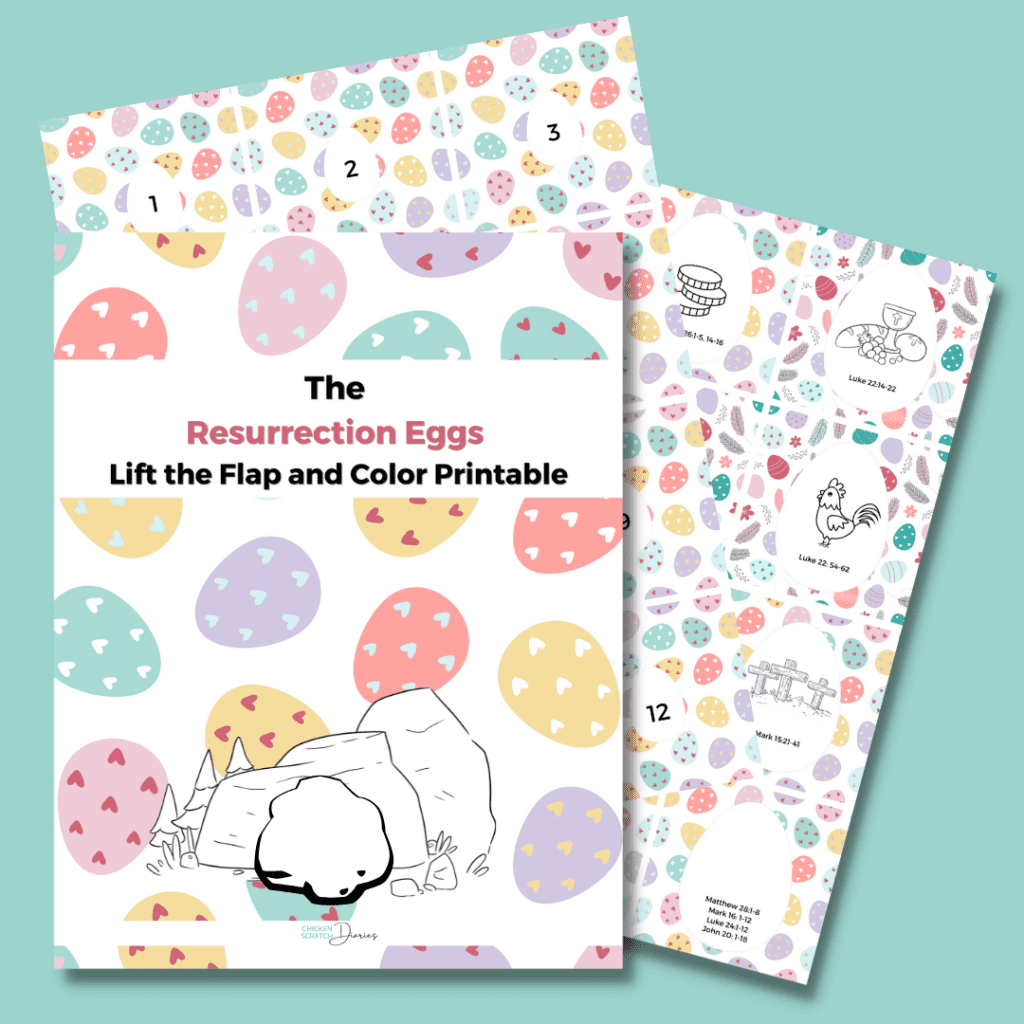
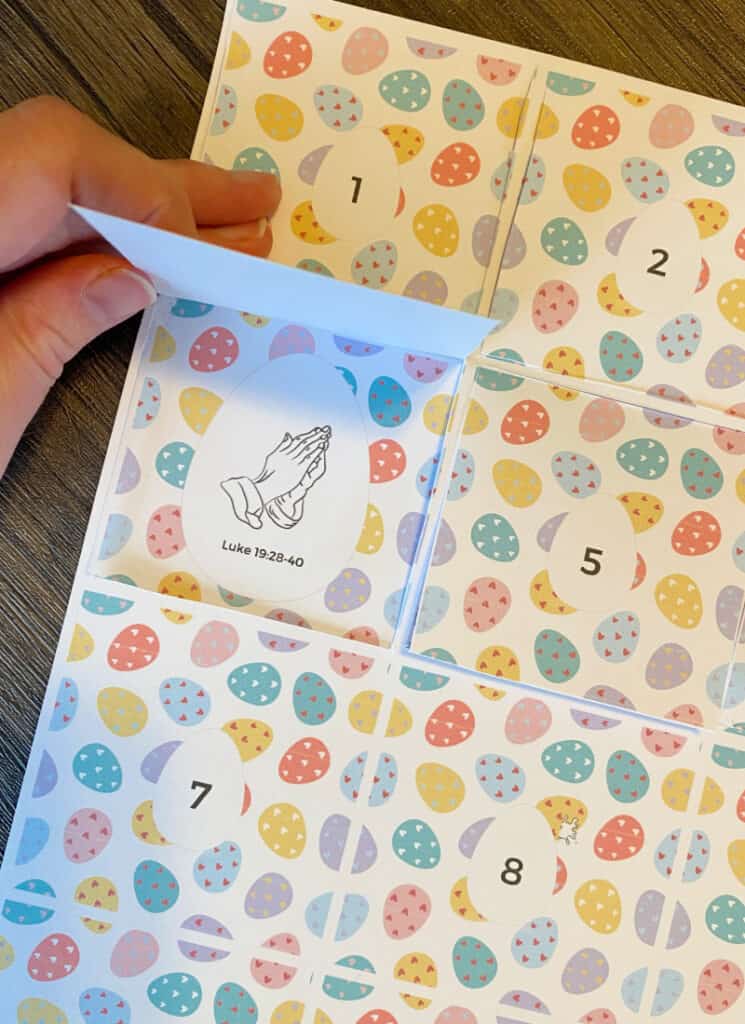
With this two-page printable, you simply:
- Lift the flaps in order from top-left to bottom-right
- Have kids color the picture under the flap
- Read the Scripture reference listed under the flap.
Of course, you could always read an entire set of verses (such as one row on the page), or even do the whole thing in one day.
So this could make a fun (free) printable Easter craft for Sunday school, with just a little prep work ahead of time.
Another idea is to assemble your Resurrection Eggs as usual, and use this printable as a supplemental activity as part of the object lesson.
Printable Resurrection Eggs: Instructions
Here’s how to make this printable Resurrection Eggs craft and Bible lesson.
1| Using cardstock, print the two pages for this activity (at the end of this post).
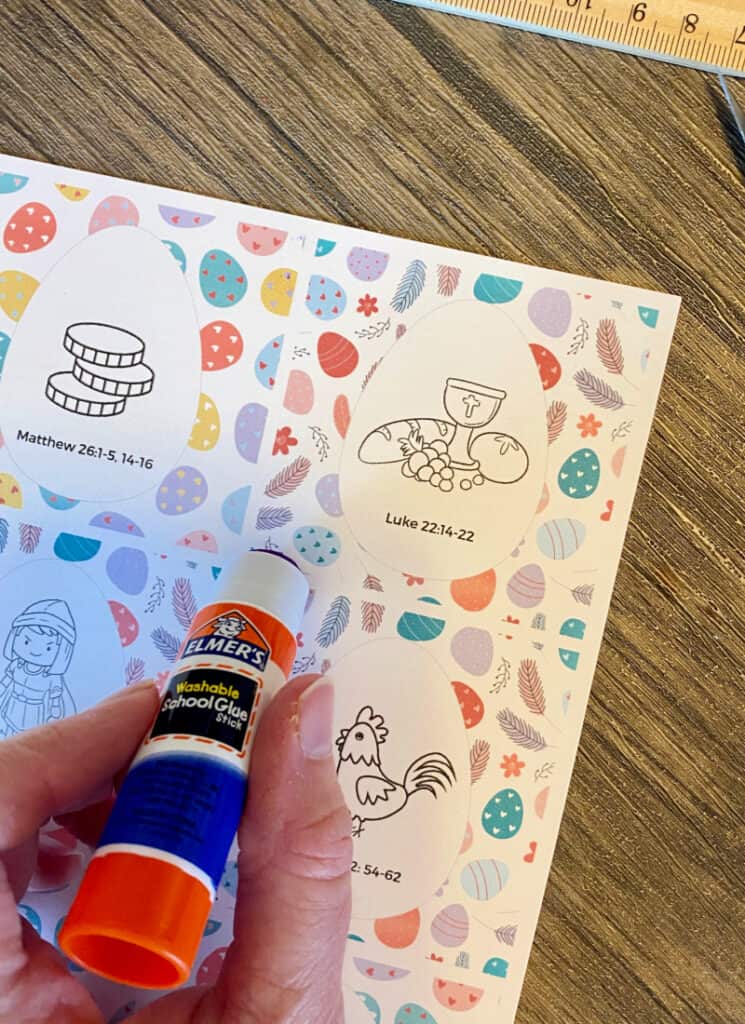
2| Gather: A ruler, an X-acto knife, a glue stick, and a cutting mat.
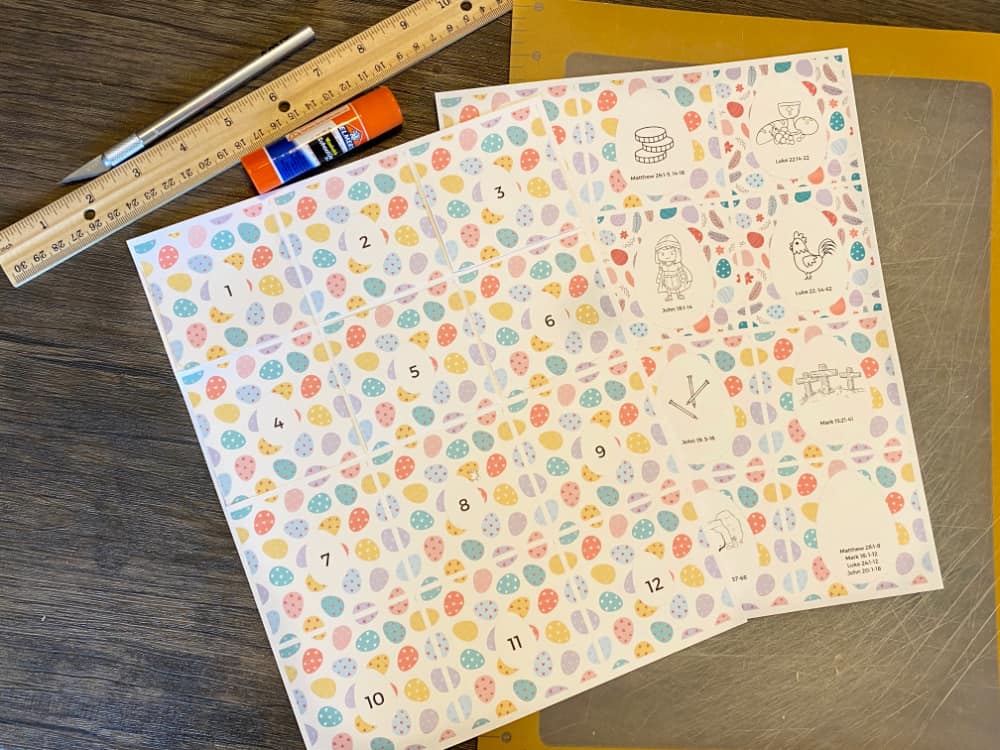
4| Use the sharp edge of the ruler and line it up to the inside edge of each little square and using the X-acto knife, score around three sides of each square leaving the top part of the square intact. You’ll have a sort of “window frame” appearance with the white parts that are left between each flap.
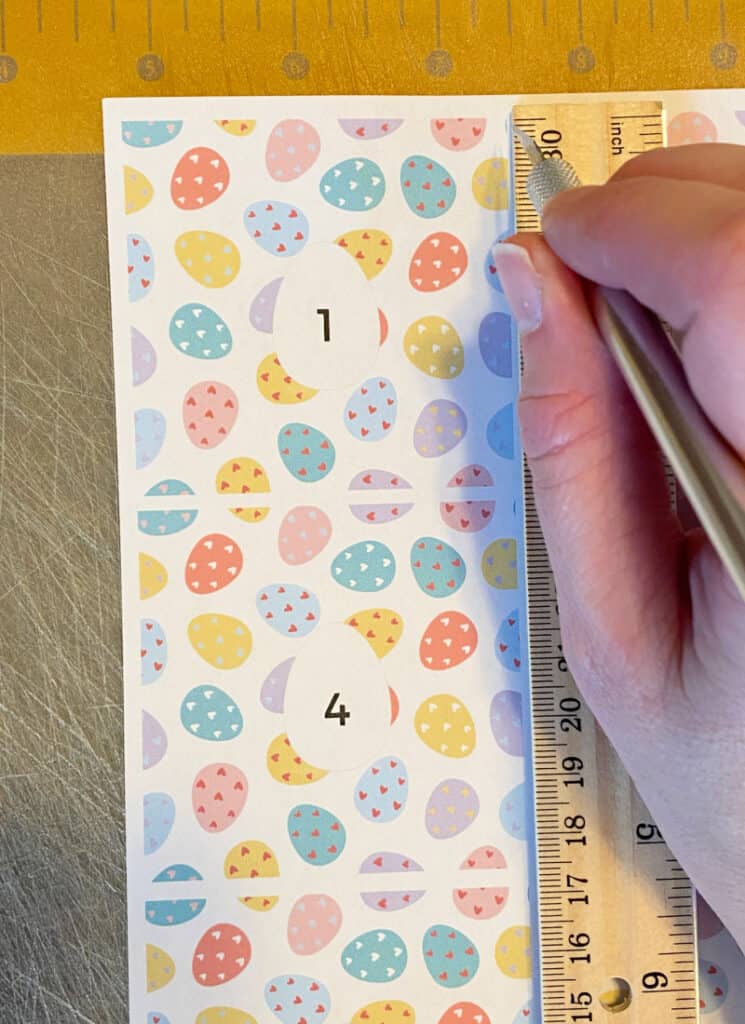
This will create 12 flaps that you can flip up individually. It’s ok if they’re not perfect! My lines were not perfectly straight even with the ruler.
Now you have your activity ready to go!
A few tips for assembling this Resurrection Eggs activity:
- You’ll need to cut the flaps out yourself, since X-acto knives are, of course, extremely sharp! Or, if you’re needing to make several for a Sunday School class, enlist some trustworthy teens to help you.
- You could glue these ahead of time for very young kids, or let older kids do the glue stick work. Great for fine motor skills! You just want the glue stick line as thin as possible so that the flaps don’t get stuck down along with the “frame”.
- Use a plastic ruler if you have one. I found it was easy to slice into the wooden ruler as I was trying to score the cardstock. (Clumsy me! You might not have this problem.)
Find your printable Easter activity sheets below! Simply click on the image to download your copy.
>>And, please join our mailing list when you’re done for more updates from the blog!
You might also like:
Christian Easter gifts for kids
Sunday School Easter Lessons with crafts (3 FREE options)
Easter Bunny Cinnamon Puff Pastry Twists
Printable Thanksgiving Sunday School lessons with crafts